My camera collection started with the Zorki 6, this is the story of how I chose it and my experiences using it for the first time.
I was looking at cameras on the web and I really liked the retro design of the Leica cameras, but I really didn’t like the massive price tag. I was looking to get back into a more involved form of photography, but on a budget.
A low budget.
Leica copies
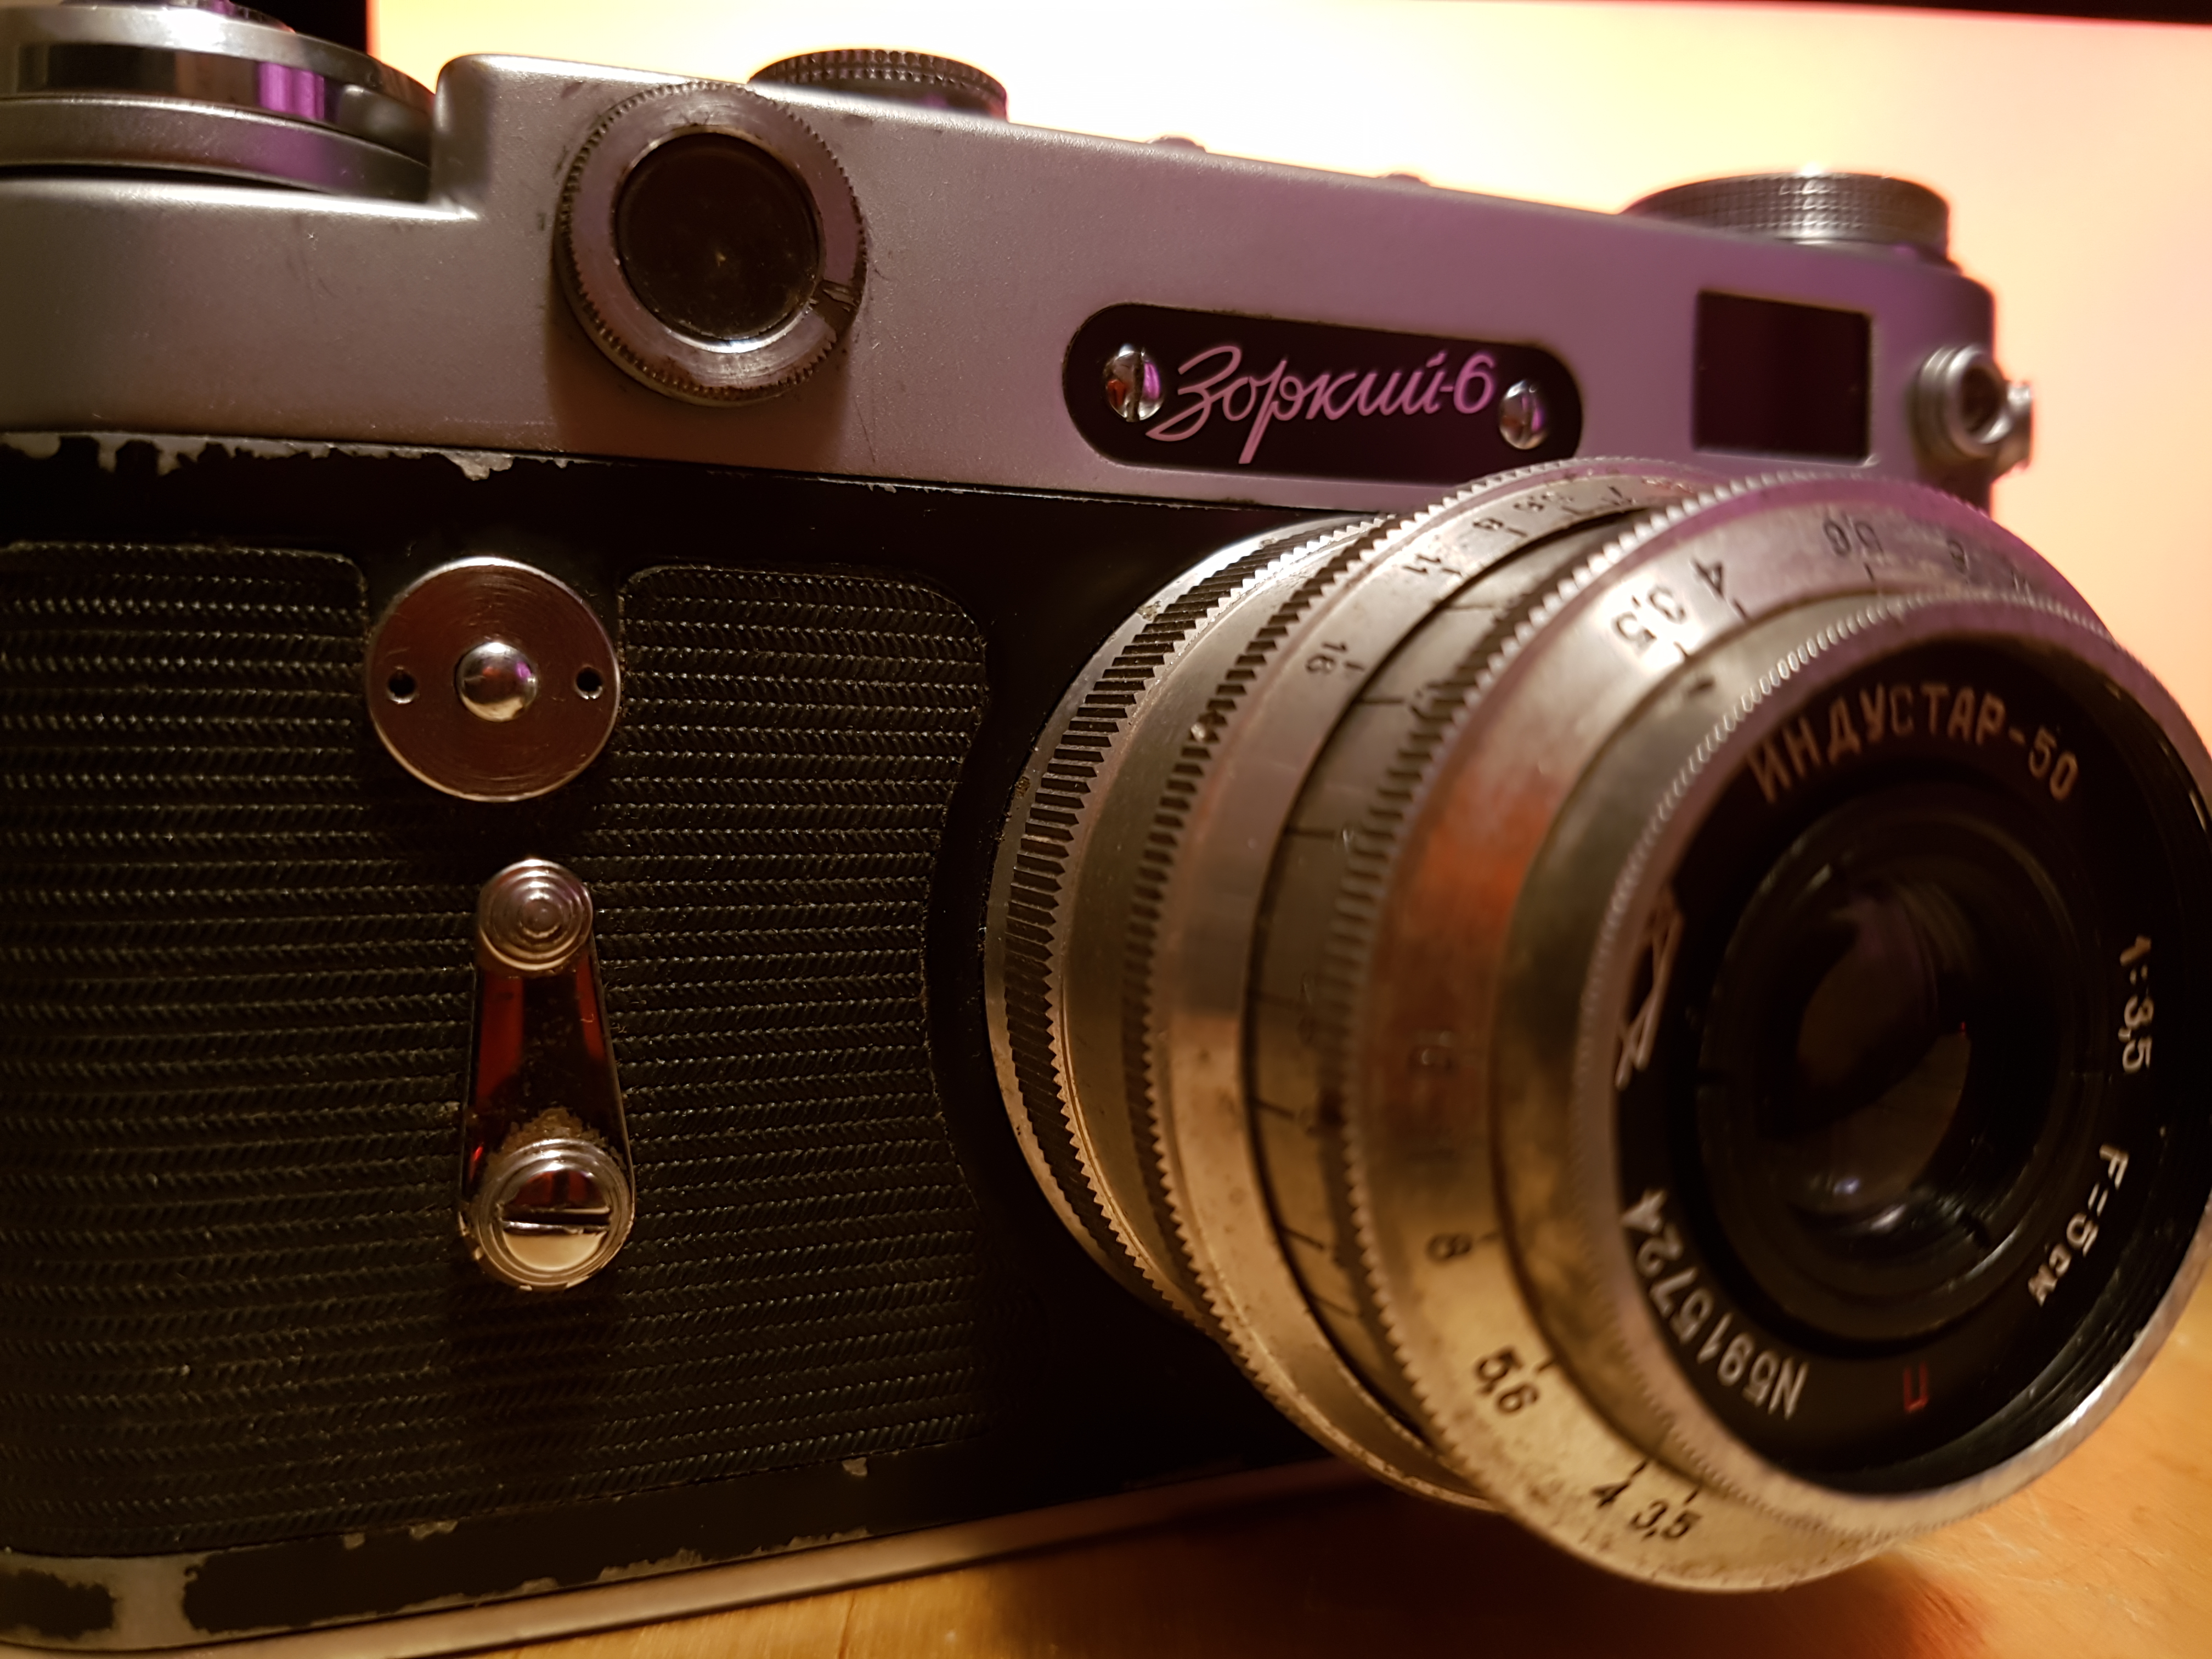
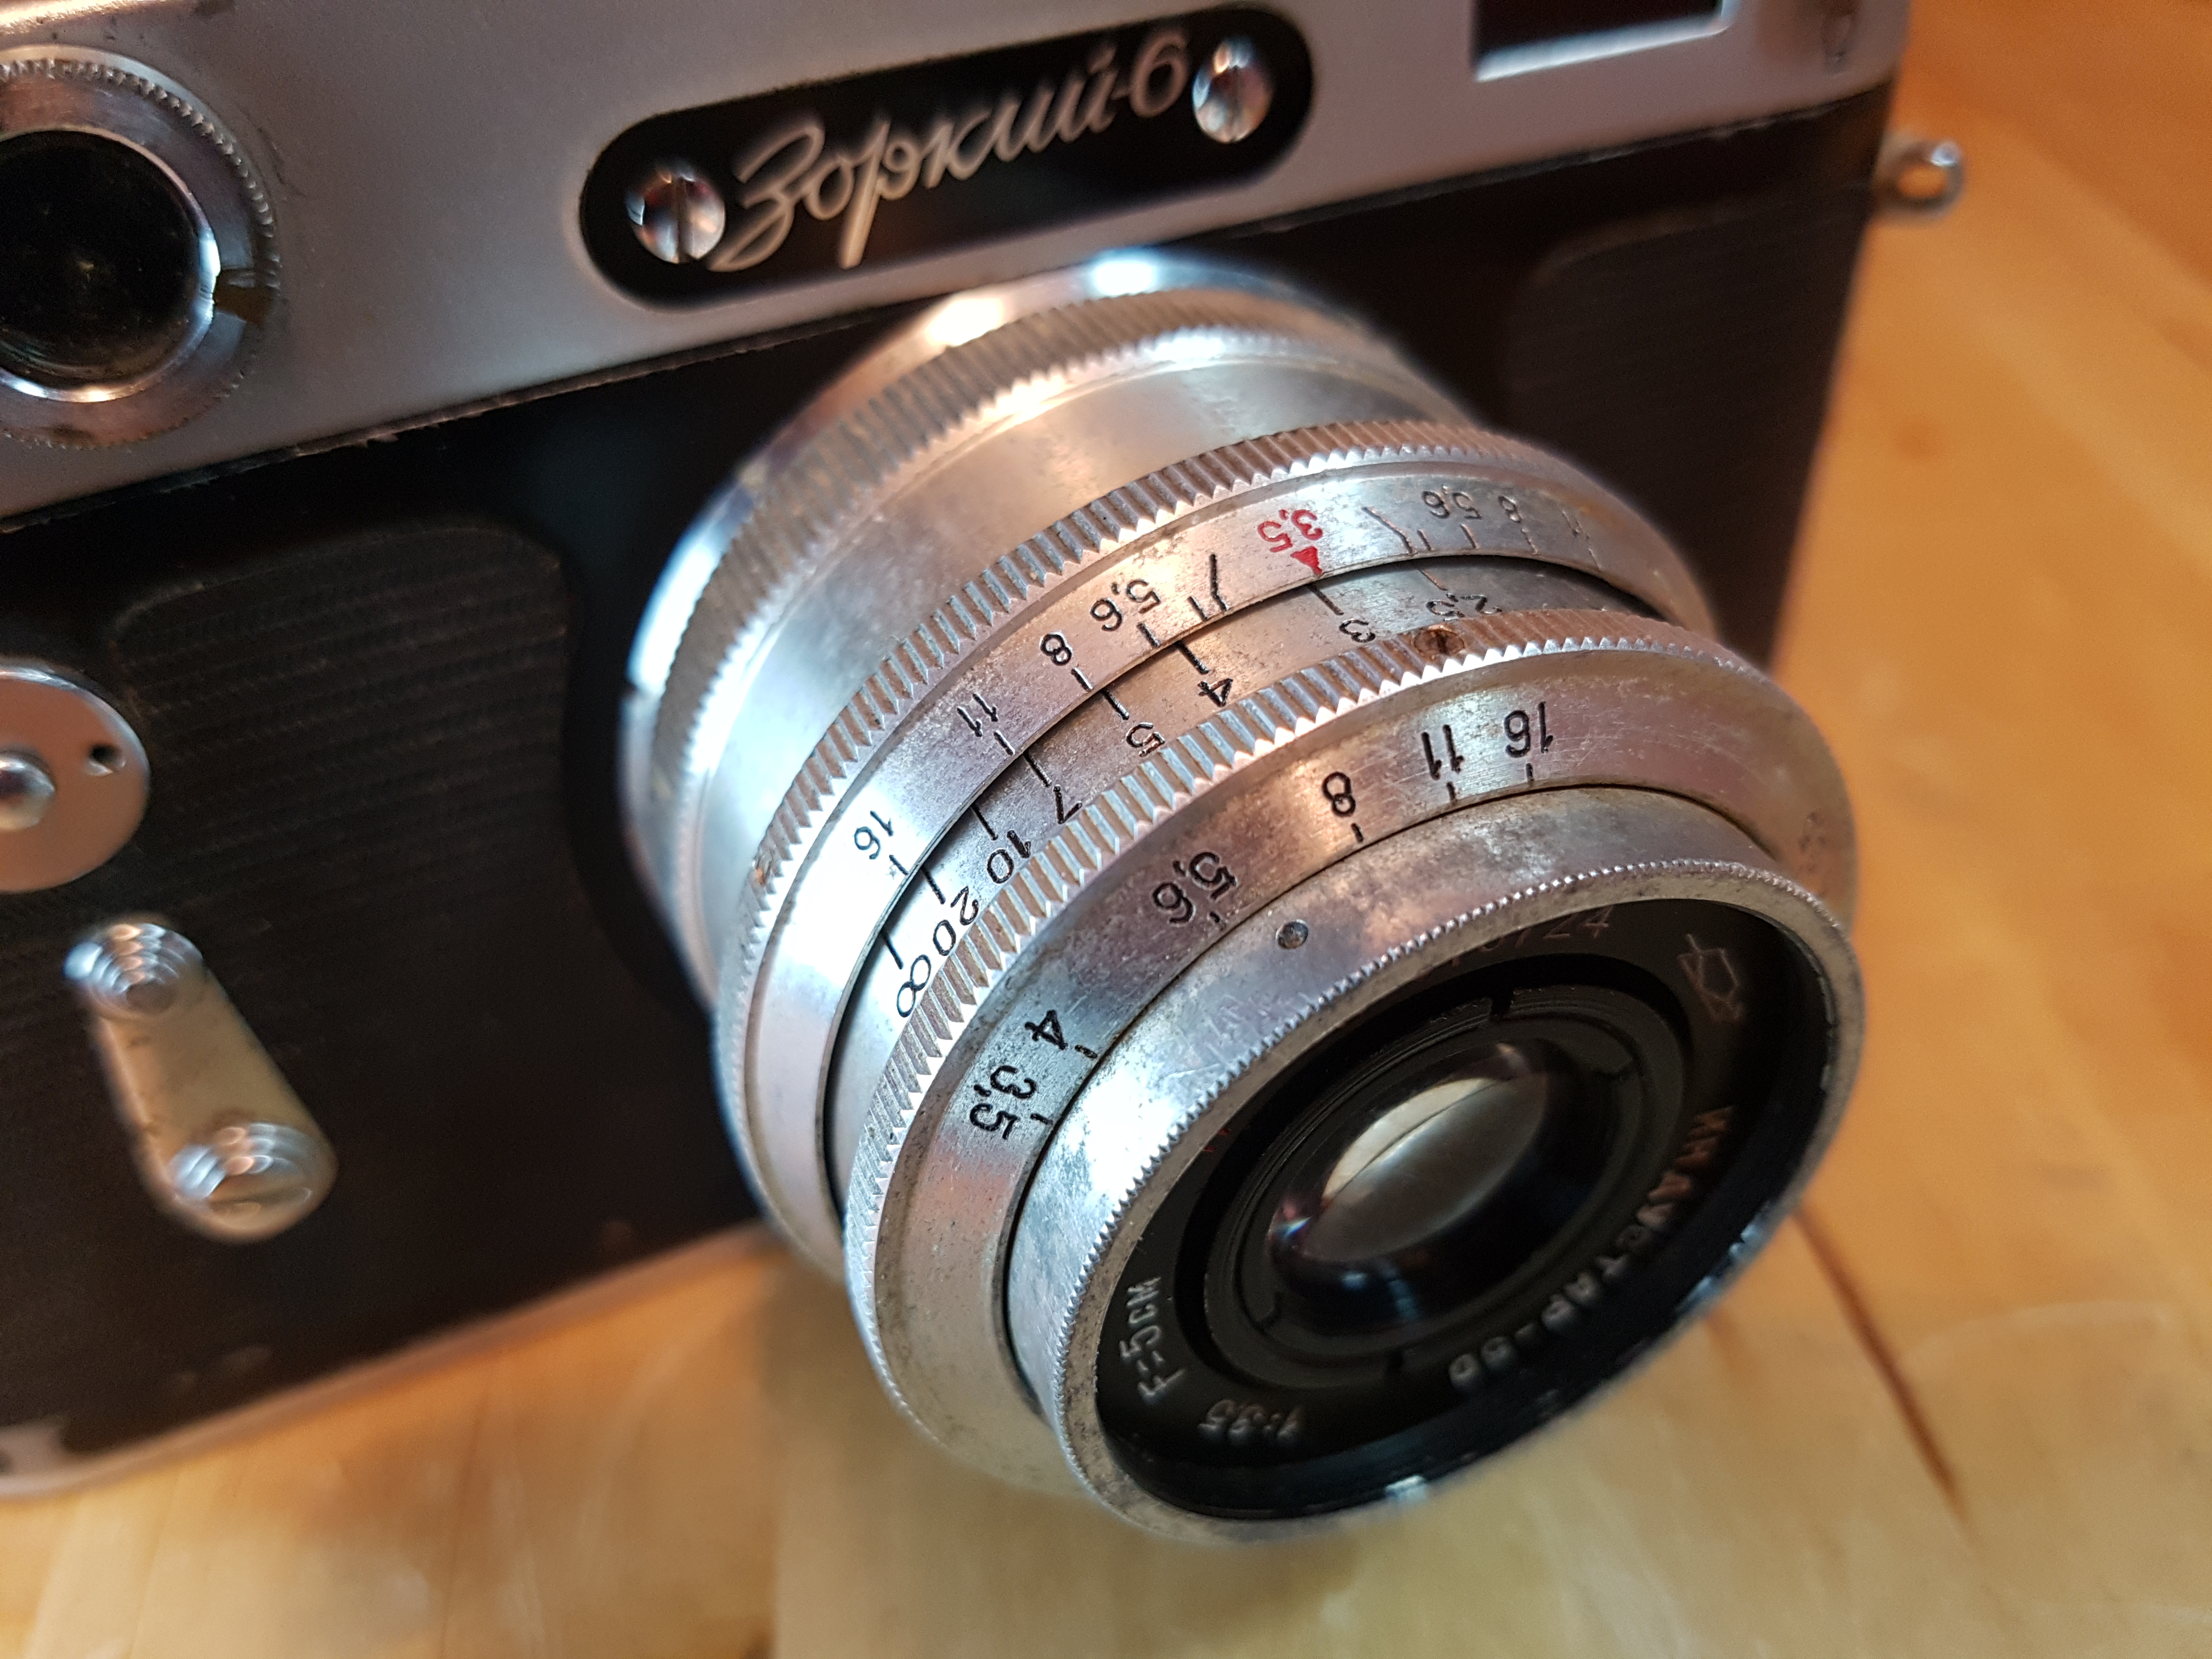
Zorki 6
Camera: £18
Postage: £10
Lens: included
Film: £5
Developing: £6
Total: £39

FED and Zorki cameras were both made by KMZ in the post-WW2 Soviet Union, but they were far from the only country making Leica copies at the time – Britain, China, Japan and the US were at it too. As war reparations equipment and plans were taken from many German factories, so it could be argued that the cameras and lenses produced are somewhat more than merely copies. KMZ continued to refine the designs of their cameras and later produced the Zenit E SLR which I owned as a teenager and with which I first learned about photography.
Rangefinder cameras
I hadn’t heard of rangefinder cameras before, but it seemed simple enough and the basic shape of rangefinder cameras was just the style I was looking for. I noted that the older (and hence closer to a Leica) you got, the harder to use the cameras were. You had to insert film from the bottom, cut the film to fit in a special way, turn the winding knob a specific number of clicks, make sure you set the shutter speed before winding or risk damage to the mechanism. It all sounded very complicated and I didn’t want that. Sure I wanted to try something new and I loved the idea of using cameras made 50 years ago to take new pictures, but I didn’t want to end up breaking it because I didn’t know what I was doing.


The camera for me: The Zorki 6
Specs
Type: Rangefinder
Maker: KMZ, Russia
Year: 1960
Film: 35mm
Lens: Industar-50 f3.5/50mm
Mount: M39
Filter: 33mm
Full specs
It doesn’t need batteries or anything else, just a 35mm film. I certainly wasn’t anticipating pin-sharp high-definition pictures, more light leaks and wonky shots, so to accentuate this I found a 24 exposure roll of Kodacolor 200 that had expired in 2001 on eBay for about a fiver and took it out to shoot some pictures.

Using the Zorki
Having never used a rangefinder before it gave me some trouble at first. It is used for focusing the lens for the correct distance and is supposed to show two superimposed images that you line up to attain focus. Well I didn’t know if my camera was broken or if the image was not very bright, but all I saw was a blurry smudge on top of the regular view of the scene through the viewfinder. Occasionally I would see an edge, such as a vertical line and adjusting the focus on the lens seemed to bring this into clearer focus, so I mostly used that as a focussing method to begin with.
I was probably half-way through the film when I realised I hadn’t been holding the camera very well and that my hand was getting in the way of the rangefinder viewer, so the edge I had been focussing on had probably been my hand in some cases. Even after that discovery I still didn’t really see what I thought I should be seeing through the viewfinder, but continued to use the “find an edge” method coupled with reading the distance off the focus dial as a double check against estimated distance.
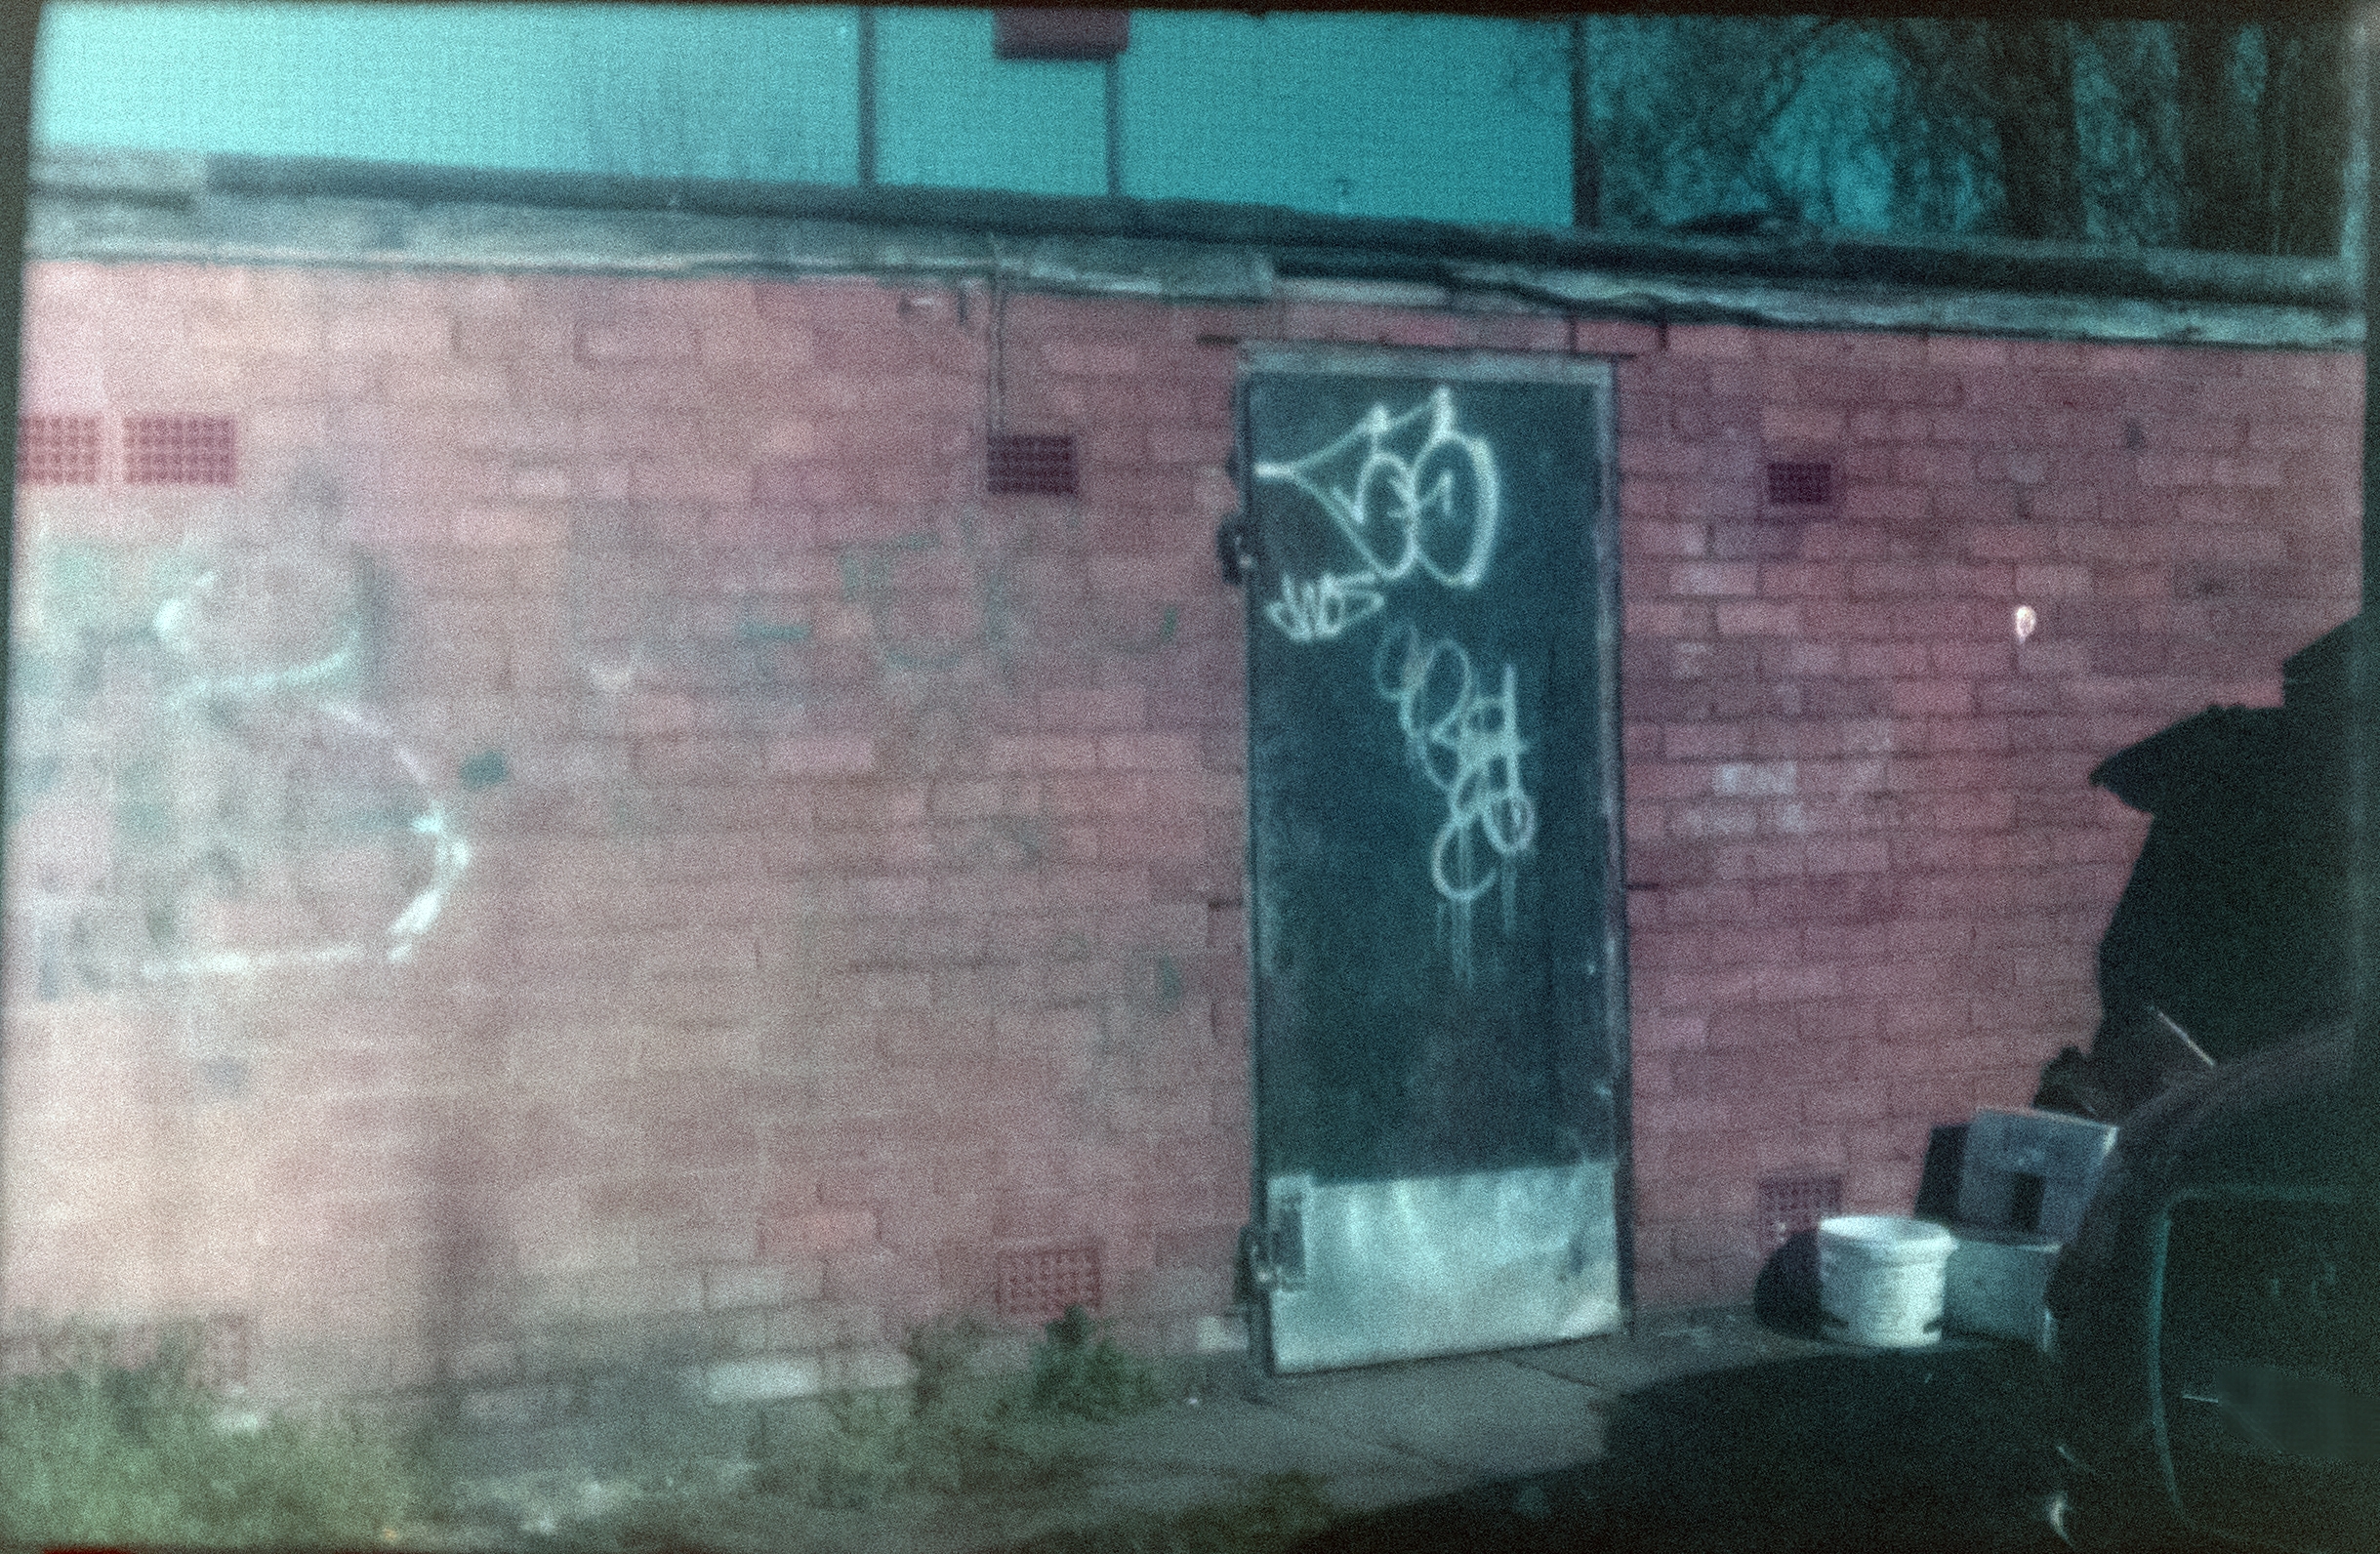
How it should be done
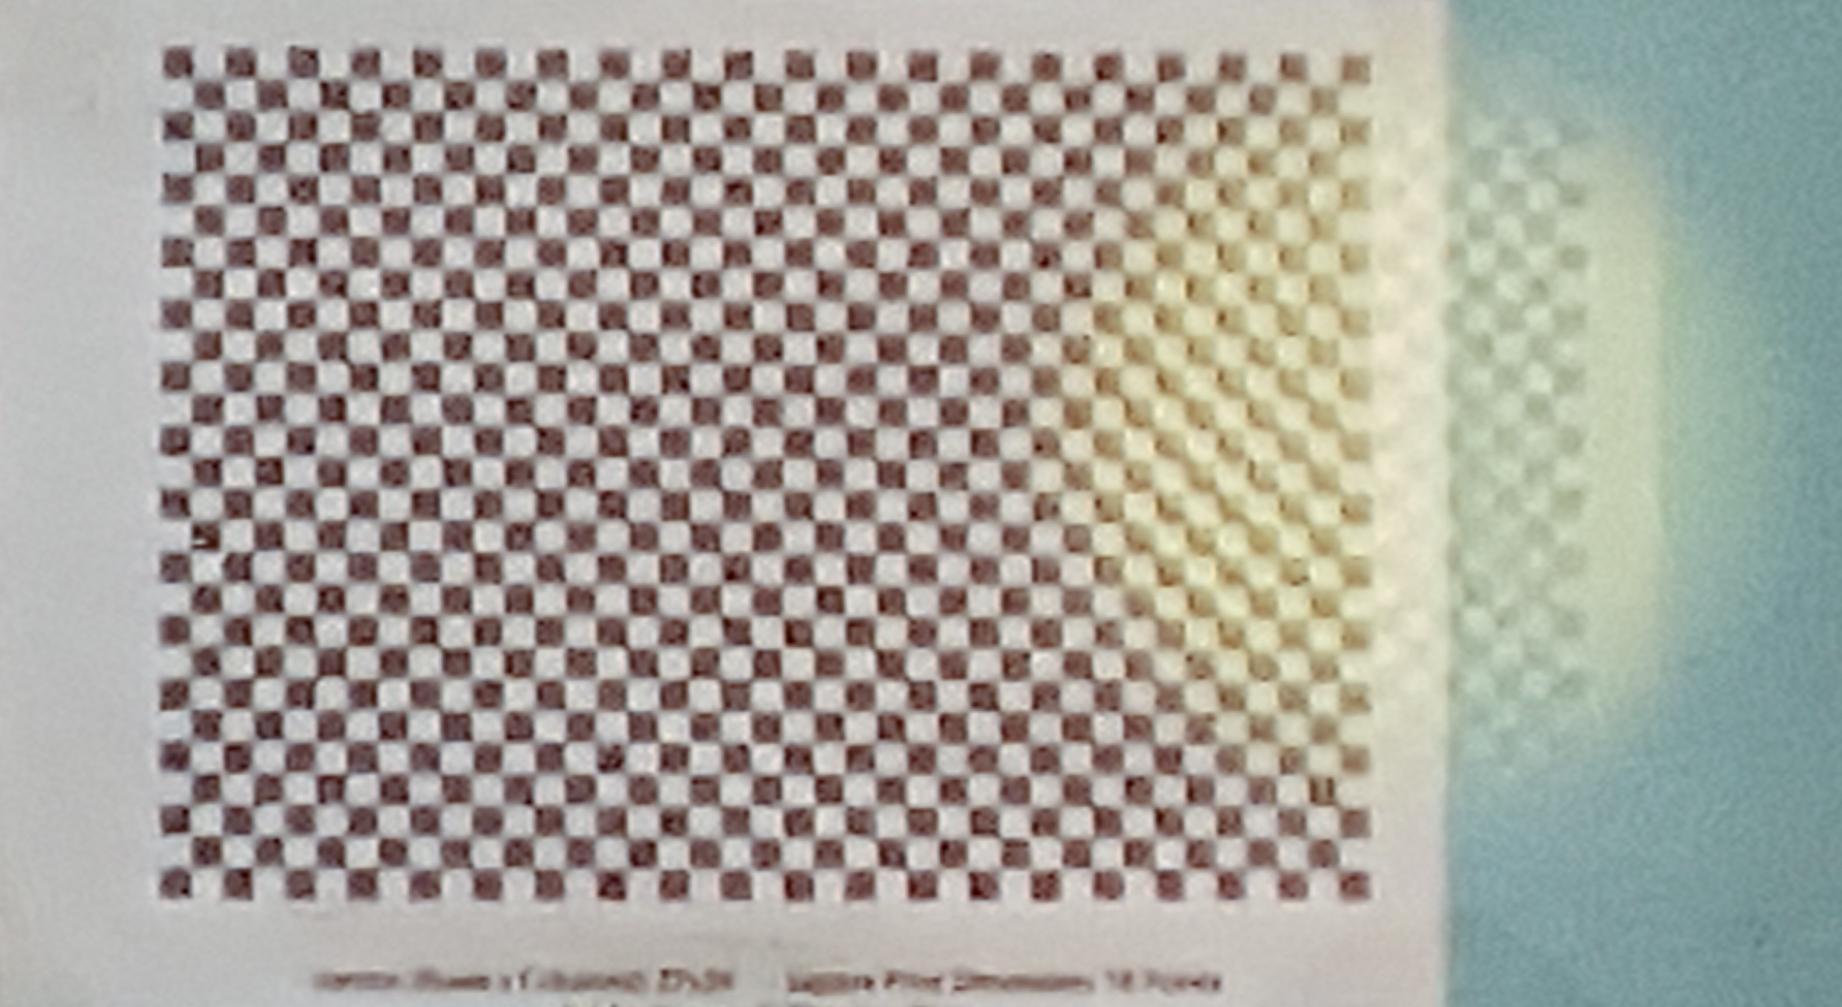
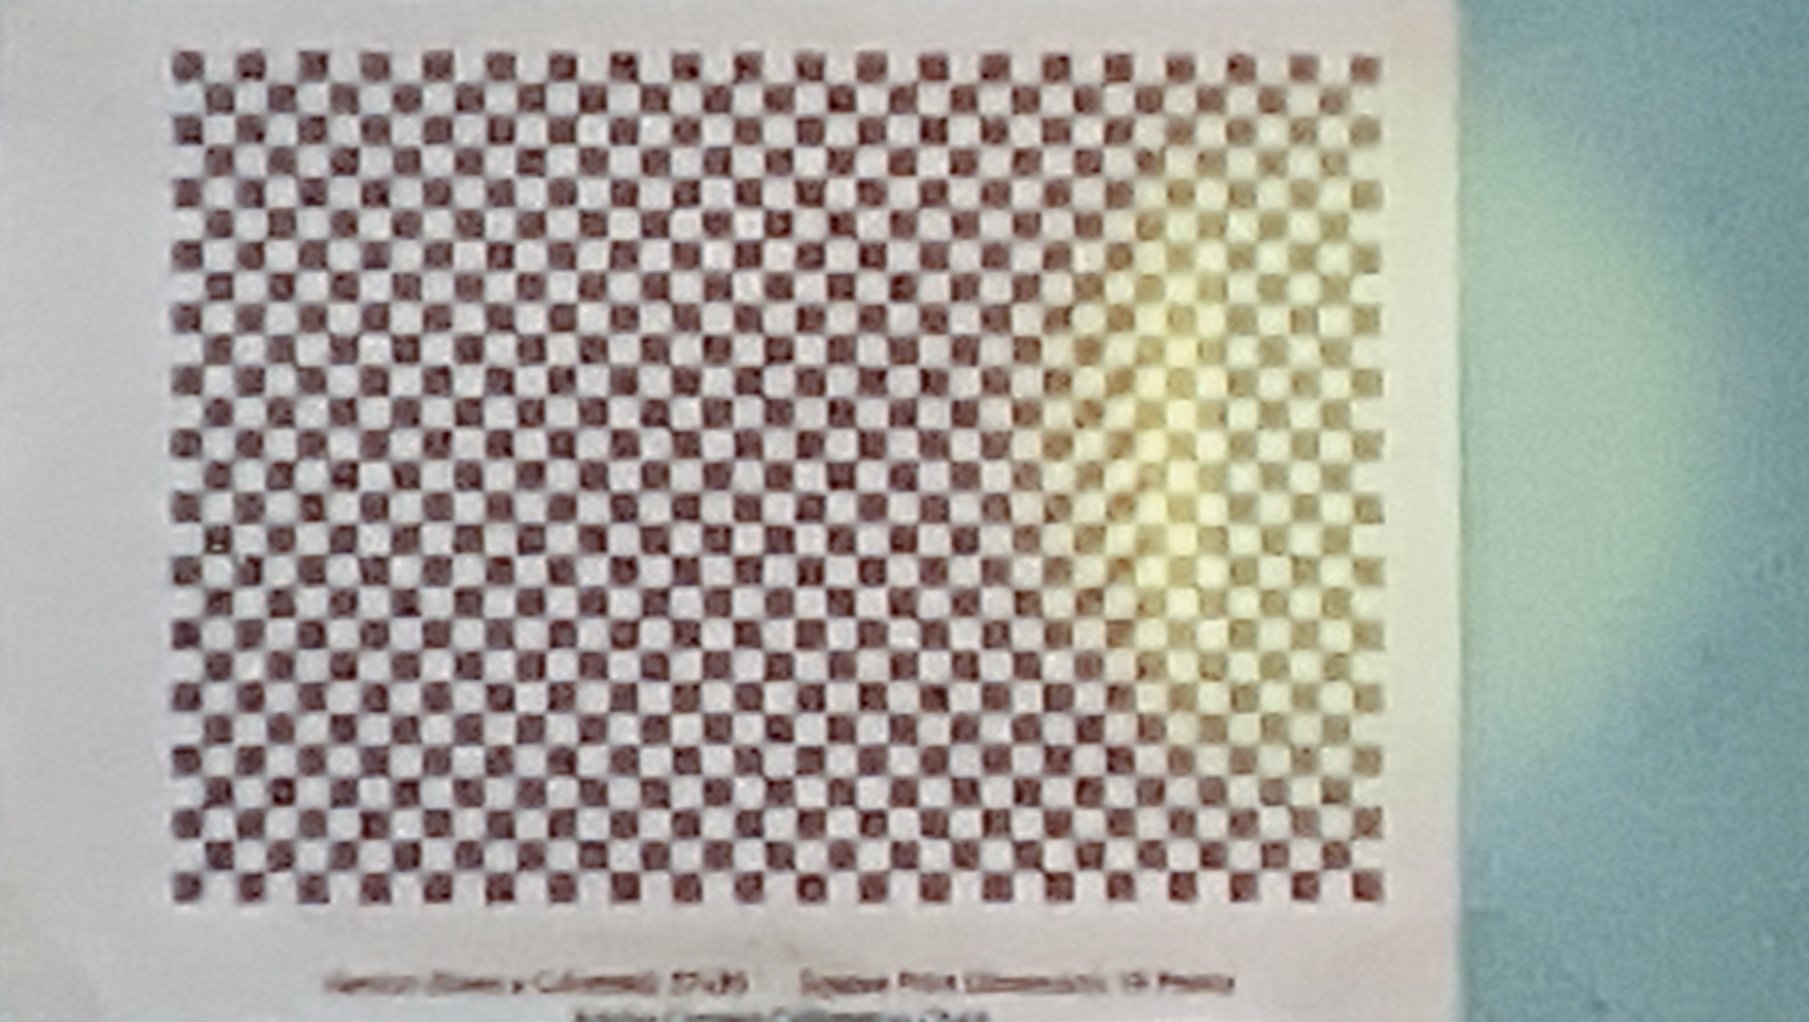
Above shows how it should be done and is a real view through the Zorki’s viewfinder. The sort of yellow circle is the view through the rangefinder overlaid onto the larger view through the viewfinder. The rangefinder isn’t looking through the lens, but it is coupled to the focus so it moves when you change focus. On the left the focus is set too long at about 7m on the lens scale, on the right it’s too short at about 1.2m, but in the middle it’s just right and set to about 2.1m – the camera was actually set up 2m away from the wall, so it does illustrate that the markings on the lens aren’t that far off.
You can see in the pictures of the front of the camera that the circular sight the rangefinder uses is on the other side of the camera from the rectangular viewfinder sight, showing you a view from a different angle, it works kind of like your eyes do. As you focus on objects closer and closer your eyes swivel in towards your nose, but when you look into the distance they both point straight ahead. In a camera it’s only the rangefinder’s angle that changes, but the principle is the same.
Using a Light Meter
I knew about lens apertures and shutter speeds from using a Zenit as a teenager and it came back surprisingly quickly, although that was massively helped by a Lightmeter app on my phone. The one I used was on the Play store for Android devices called Lightmeter by David Quiles, on the Apple App store I think it’s called myLightMeter. You set the film’s ISO speed in the app and point it at your subject, then it shows the range of shutter speeds you should use with each aperture setting, so it’s a case of picking a combination that is going to work for you, then dialling that into the camera. There’s a lot more detail about how shutter speeds and apertures affect you in the Zenit E post, but basically it’s a trade off between how still the camera (and subject) has to remain against the level of detail that can be captured.
After I’d finished the roll, I sent the film off to a company named Photo Hippo in Burnley, who developed the negatives for £5 plus £1 postage, it also cost £2.90 to send the film off, but I sent a few other films in the same package, so it mitigated the cost. I found them via a web search, they advertise as being able to process a wide variety of films, were priced reasonably and just seemed to be a nice place.
How the pictures turned out
So after all the excuses about ancient cameras I didn’t know how to use and expired films, here are the actual pictures from that first roll.


Kodak 200
Cost: £4.50
ISO: 100
Format/Type: 135/Colour Negative
Exposures: 24
Processing: £4.75
Full Total: £10.86
Cost per shot: £0.45
My Rating: 7
I had a few goes at scanning these in before getting the images above. This result is the cleanest and “closest” to the negatives I felt I could get with the equipment I was using. I admit that I really like the way old photos look and when you’re using a photo editor to convert from a negative it’s easy to cheat and add various post-processing filters to achieve a specific effect, but that’s not what I wanted here – I wanted to be as honest as possible and show as best as I could how an old camera with an old film looked when taking new pictures.
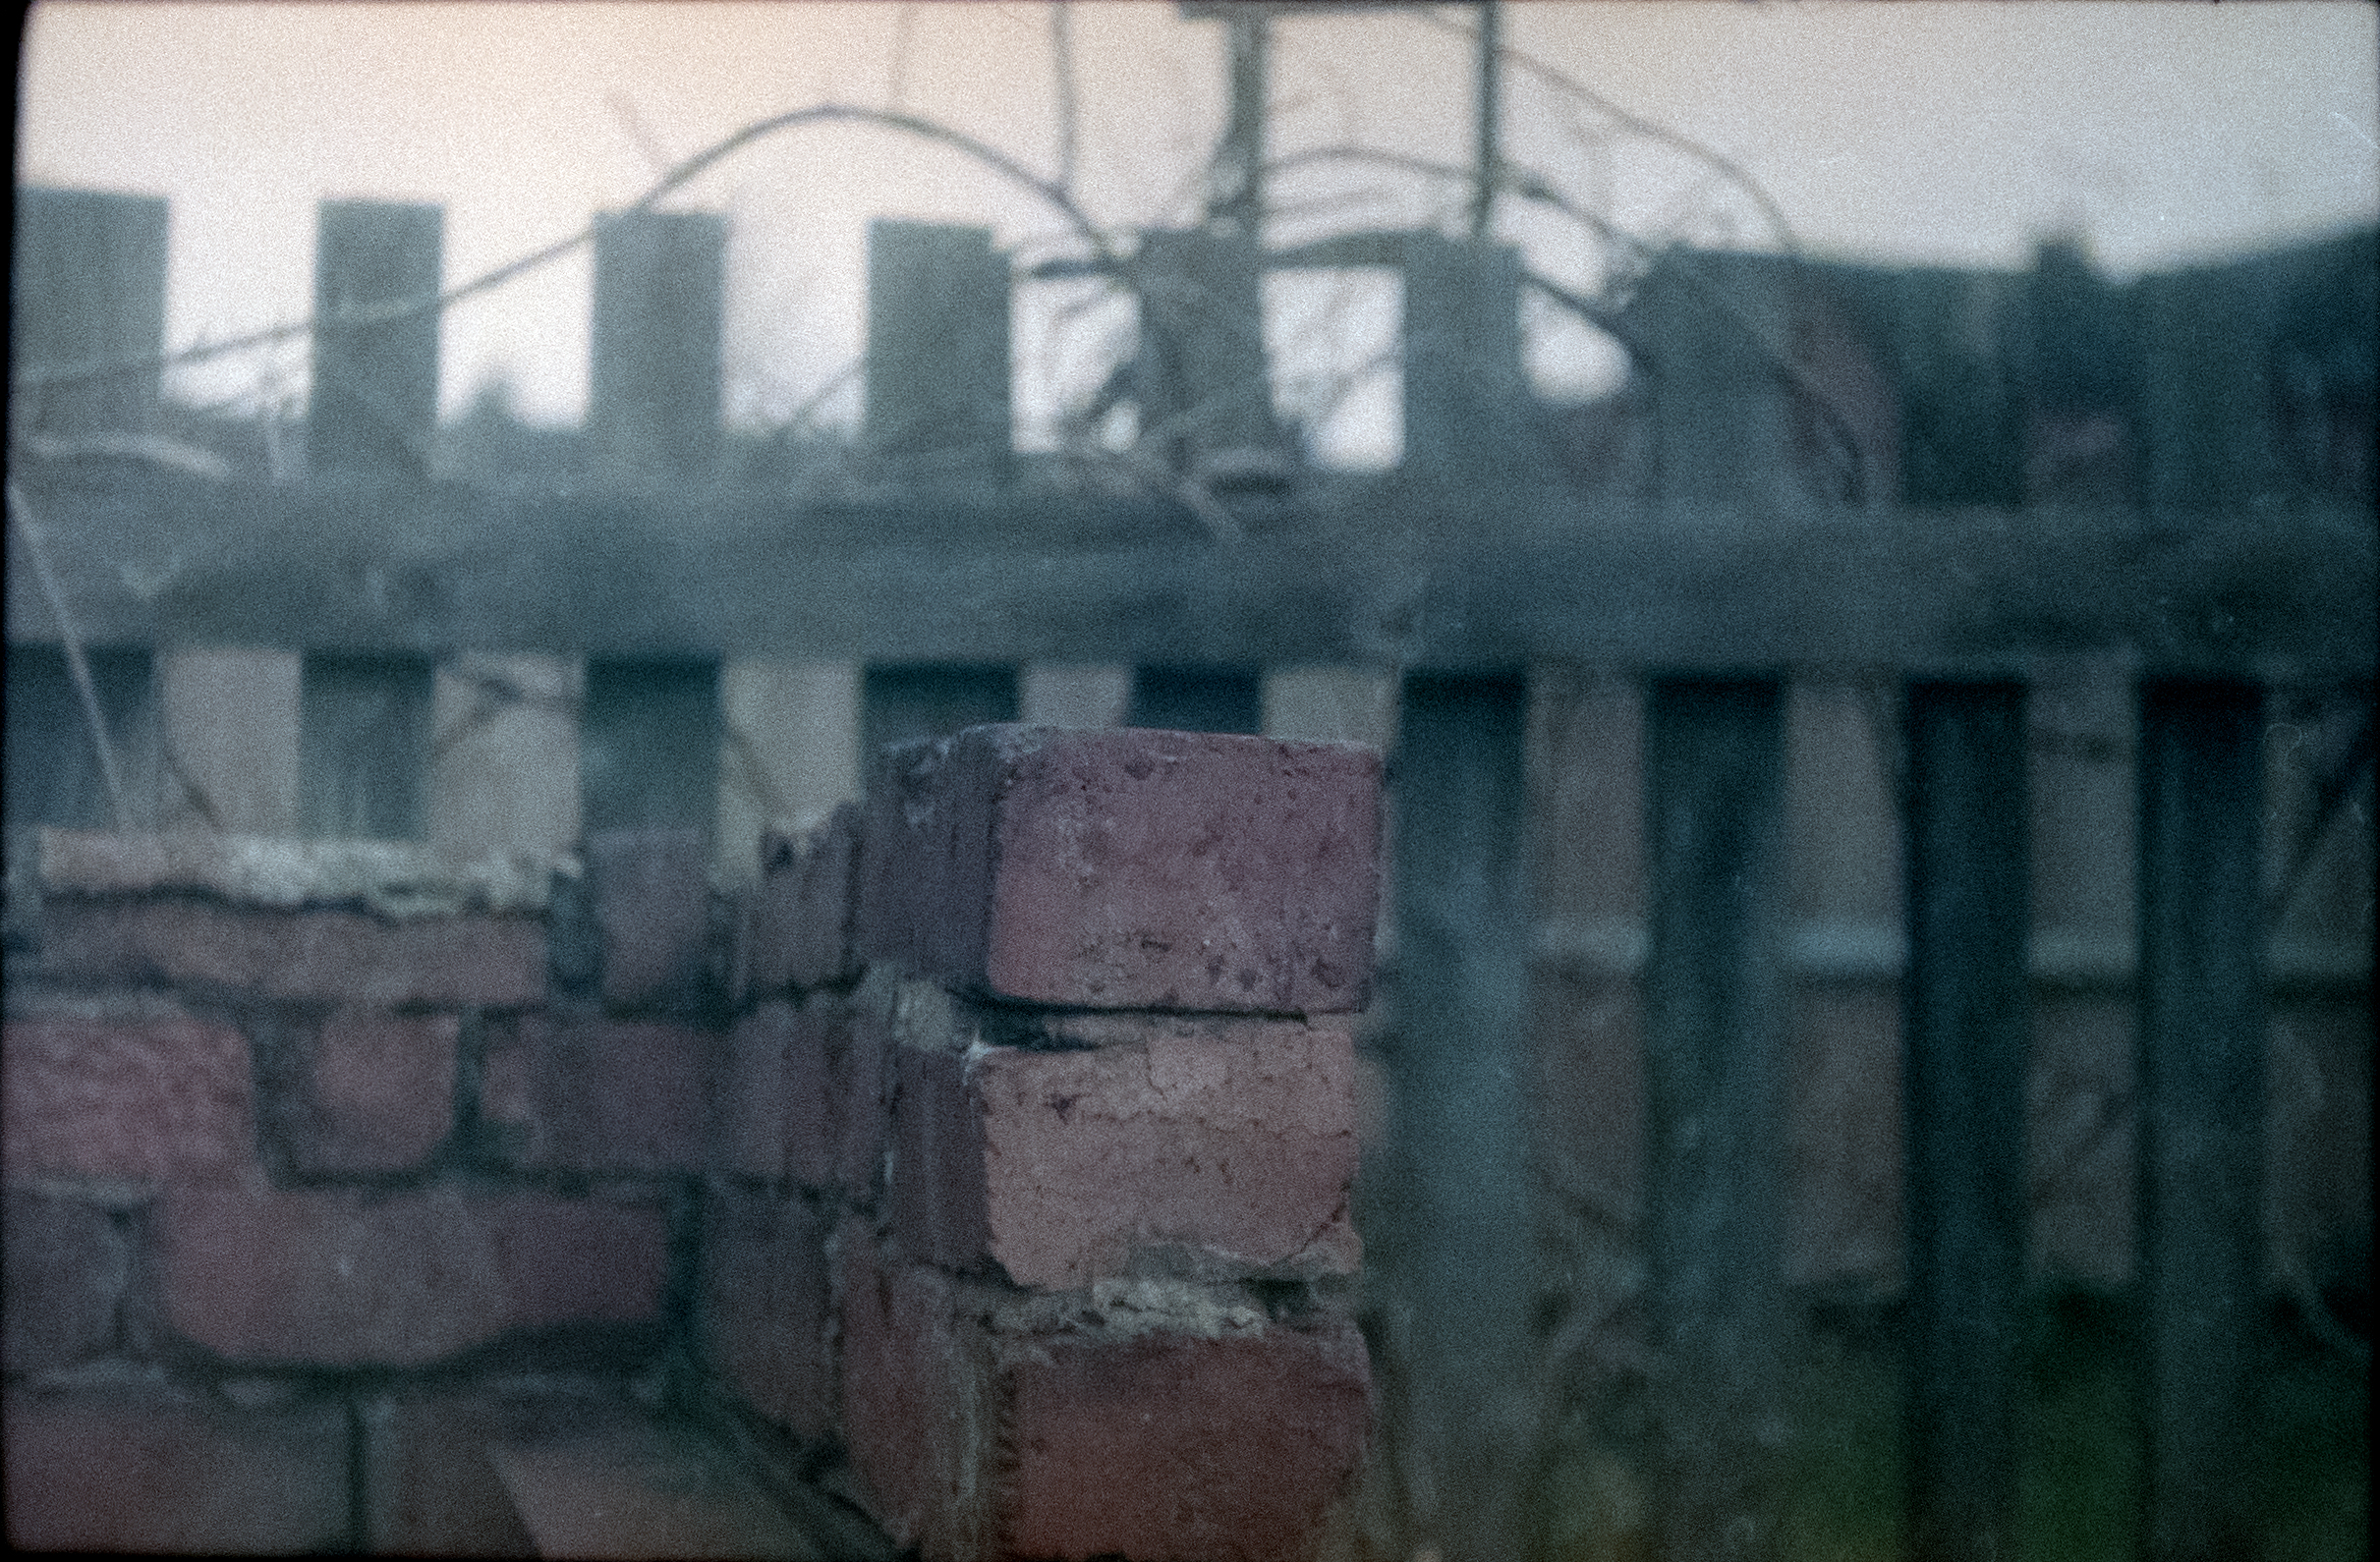
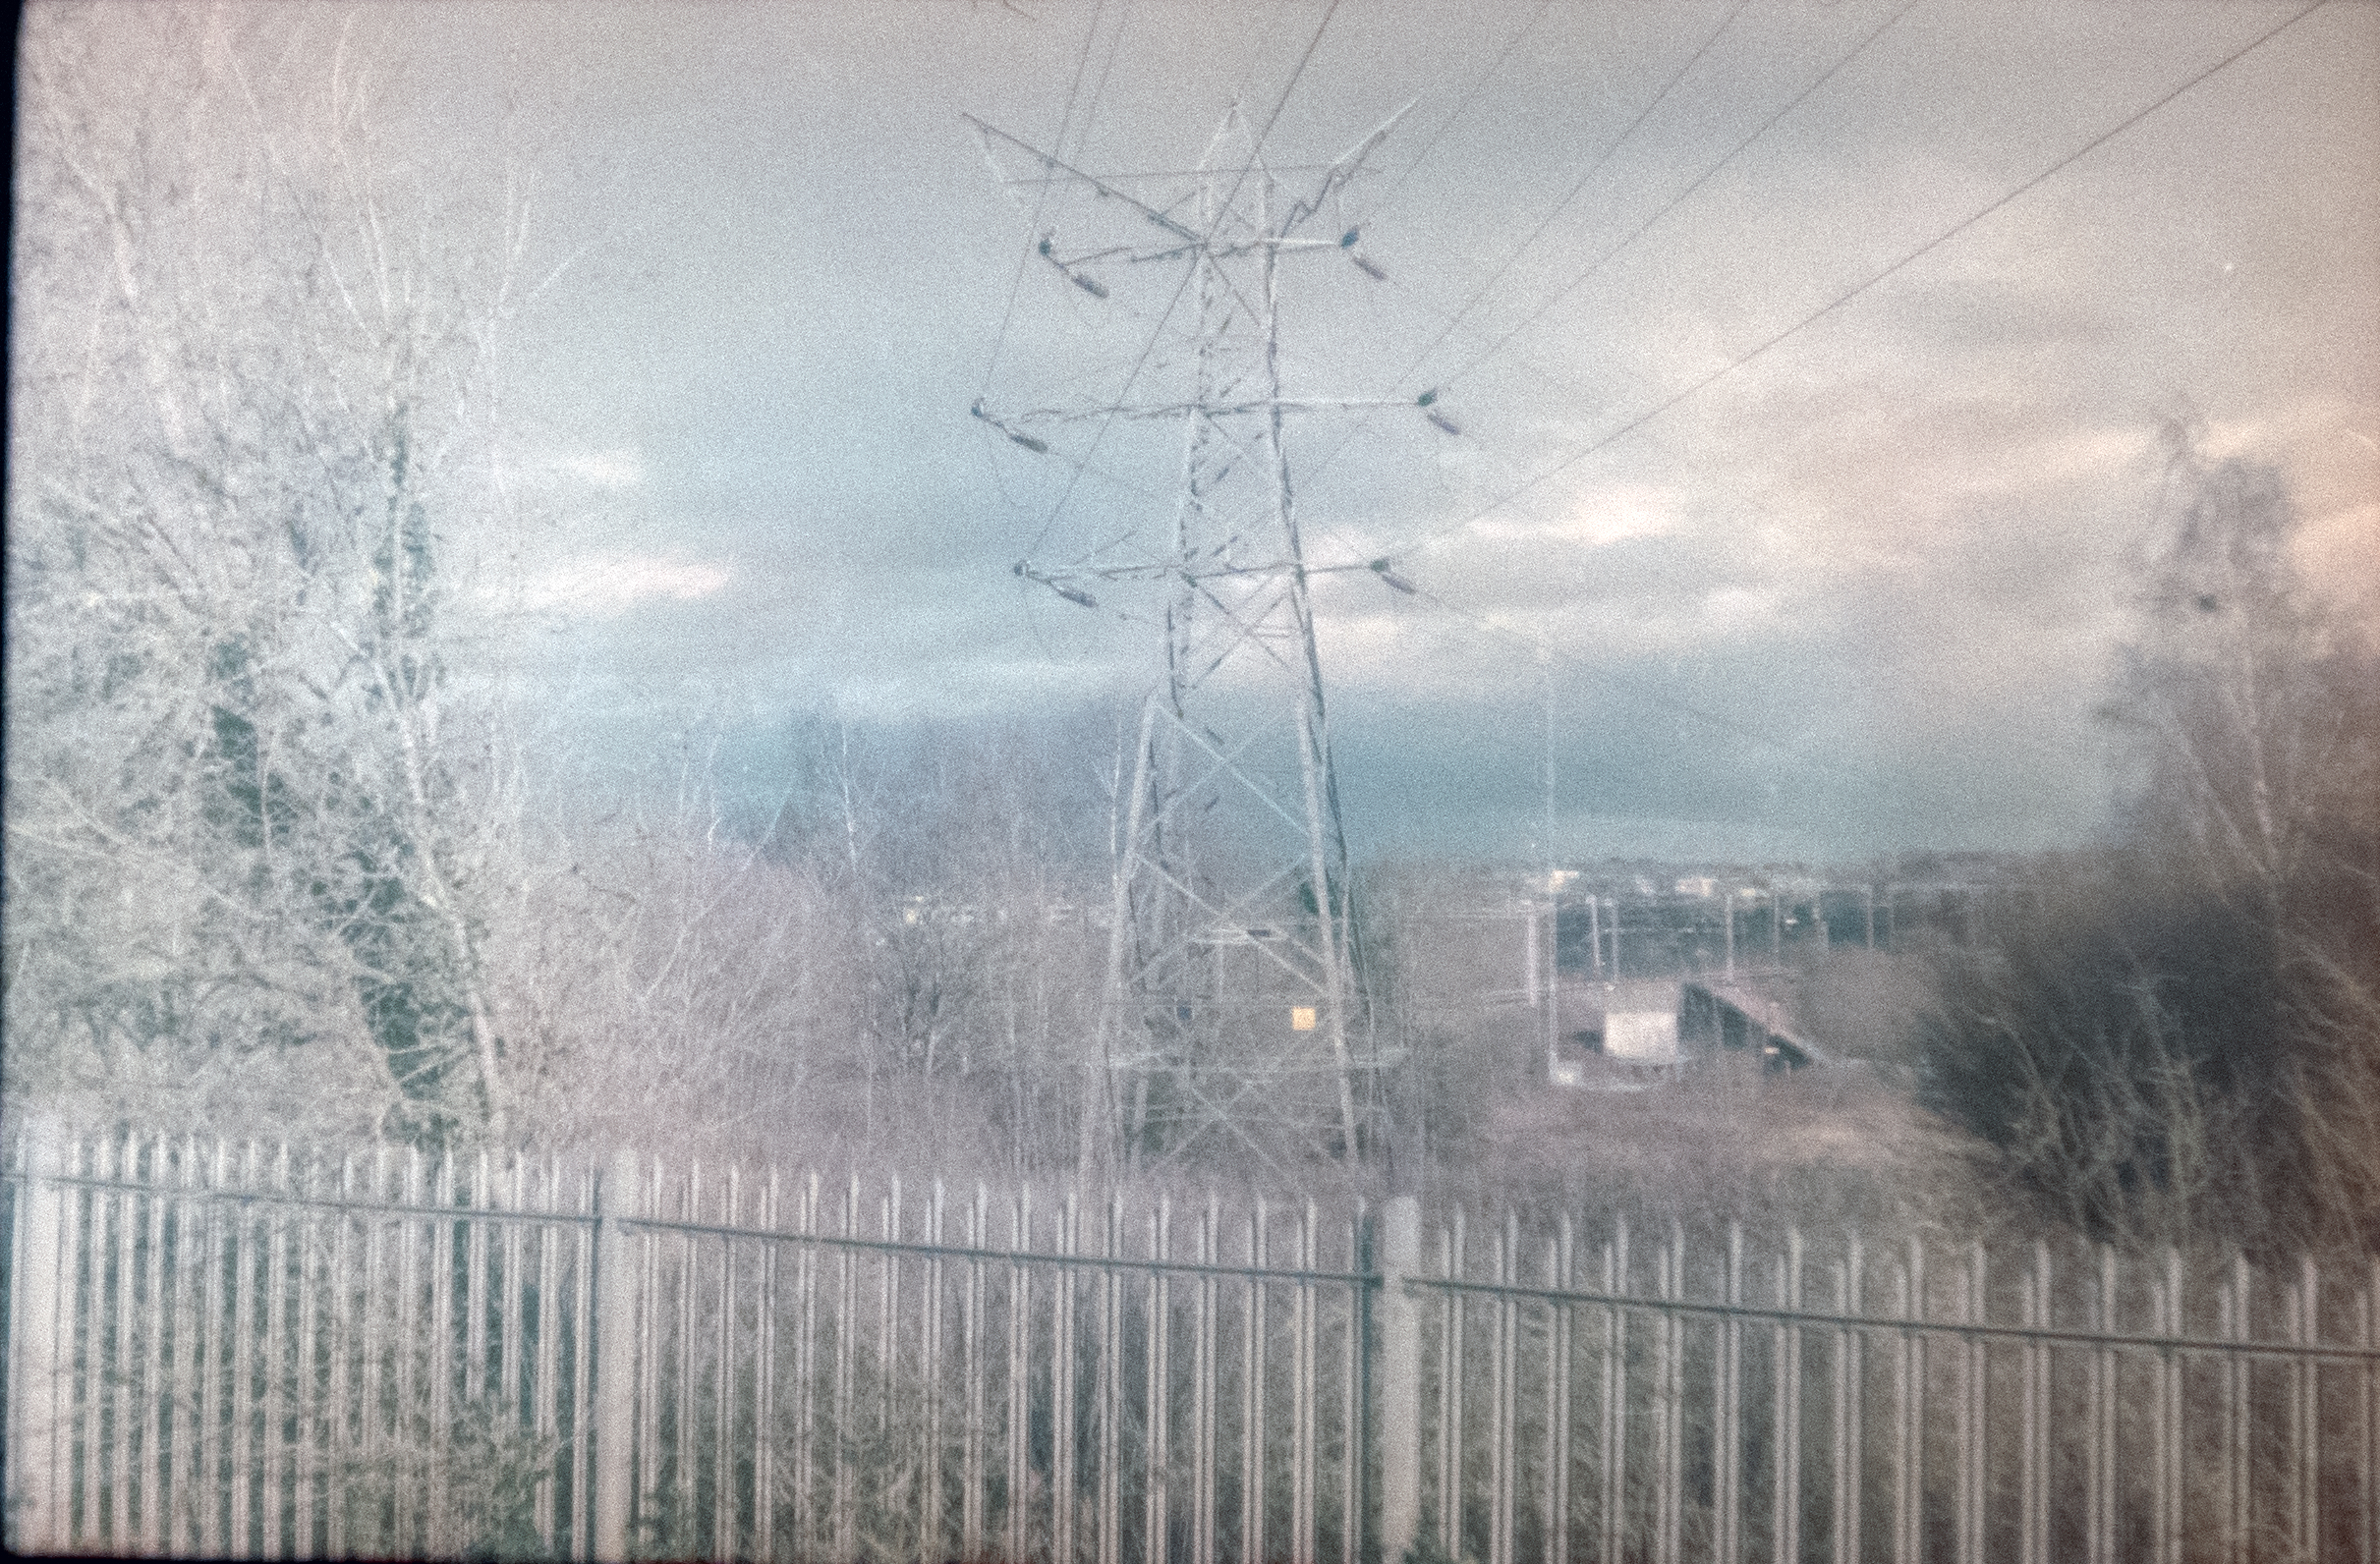
Brand new vintage pictures
I must say I’m pretty pleased with the results – the pictures have the look of ones taken decades ago, as though a vintage filter was applied, but they came out like this for real which is exactly what I was hoping for. The key thing being that since these pictures genuinely came out like this, I can repeat the effect but without the pictures all looking samey, which can happen when using the same post-processing filter on all your images. Authenticity is what I was after, and I think I nailed it.
The results raise a few questions about how films and pictures age. Do old photos look old because the photos have changed over time, or did they all look like that when they were new? Is the reason my photos look similarly old because the expired film has changed over time, or was it the old camera at work? I suspect the answers are that the photos and the films age in a similar way and if I put a brand-new shiny film in the Zorki, I’d get brand-new shiny pictures, albeit perhaps a bit wonky. Interestingly that film only expired in 2001, yet the pictures have a rather 1970s feel.
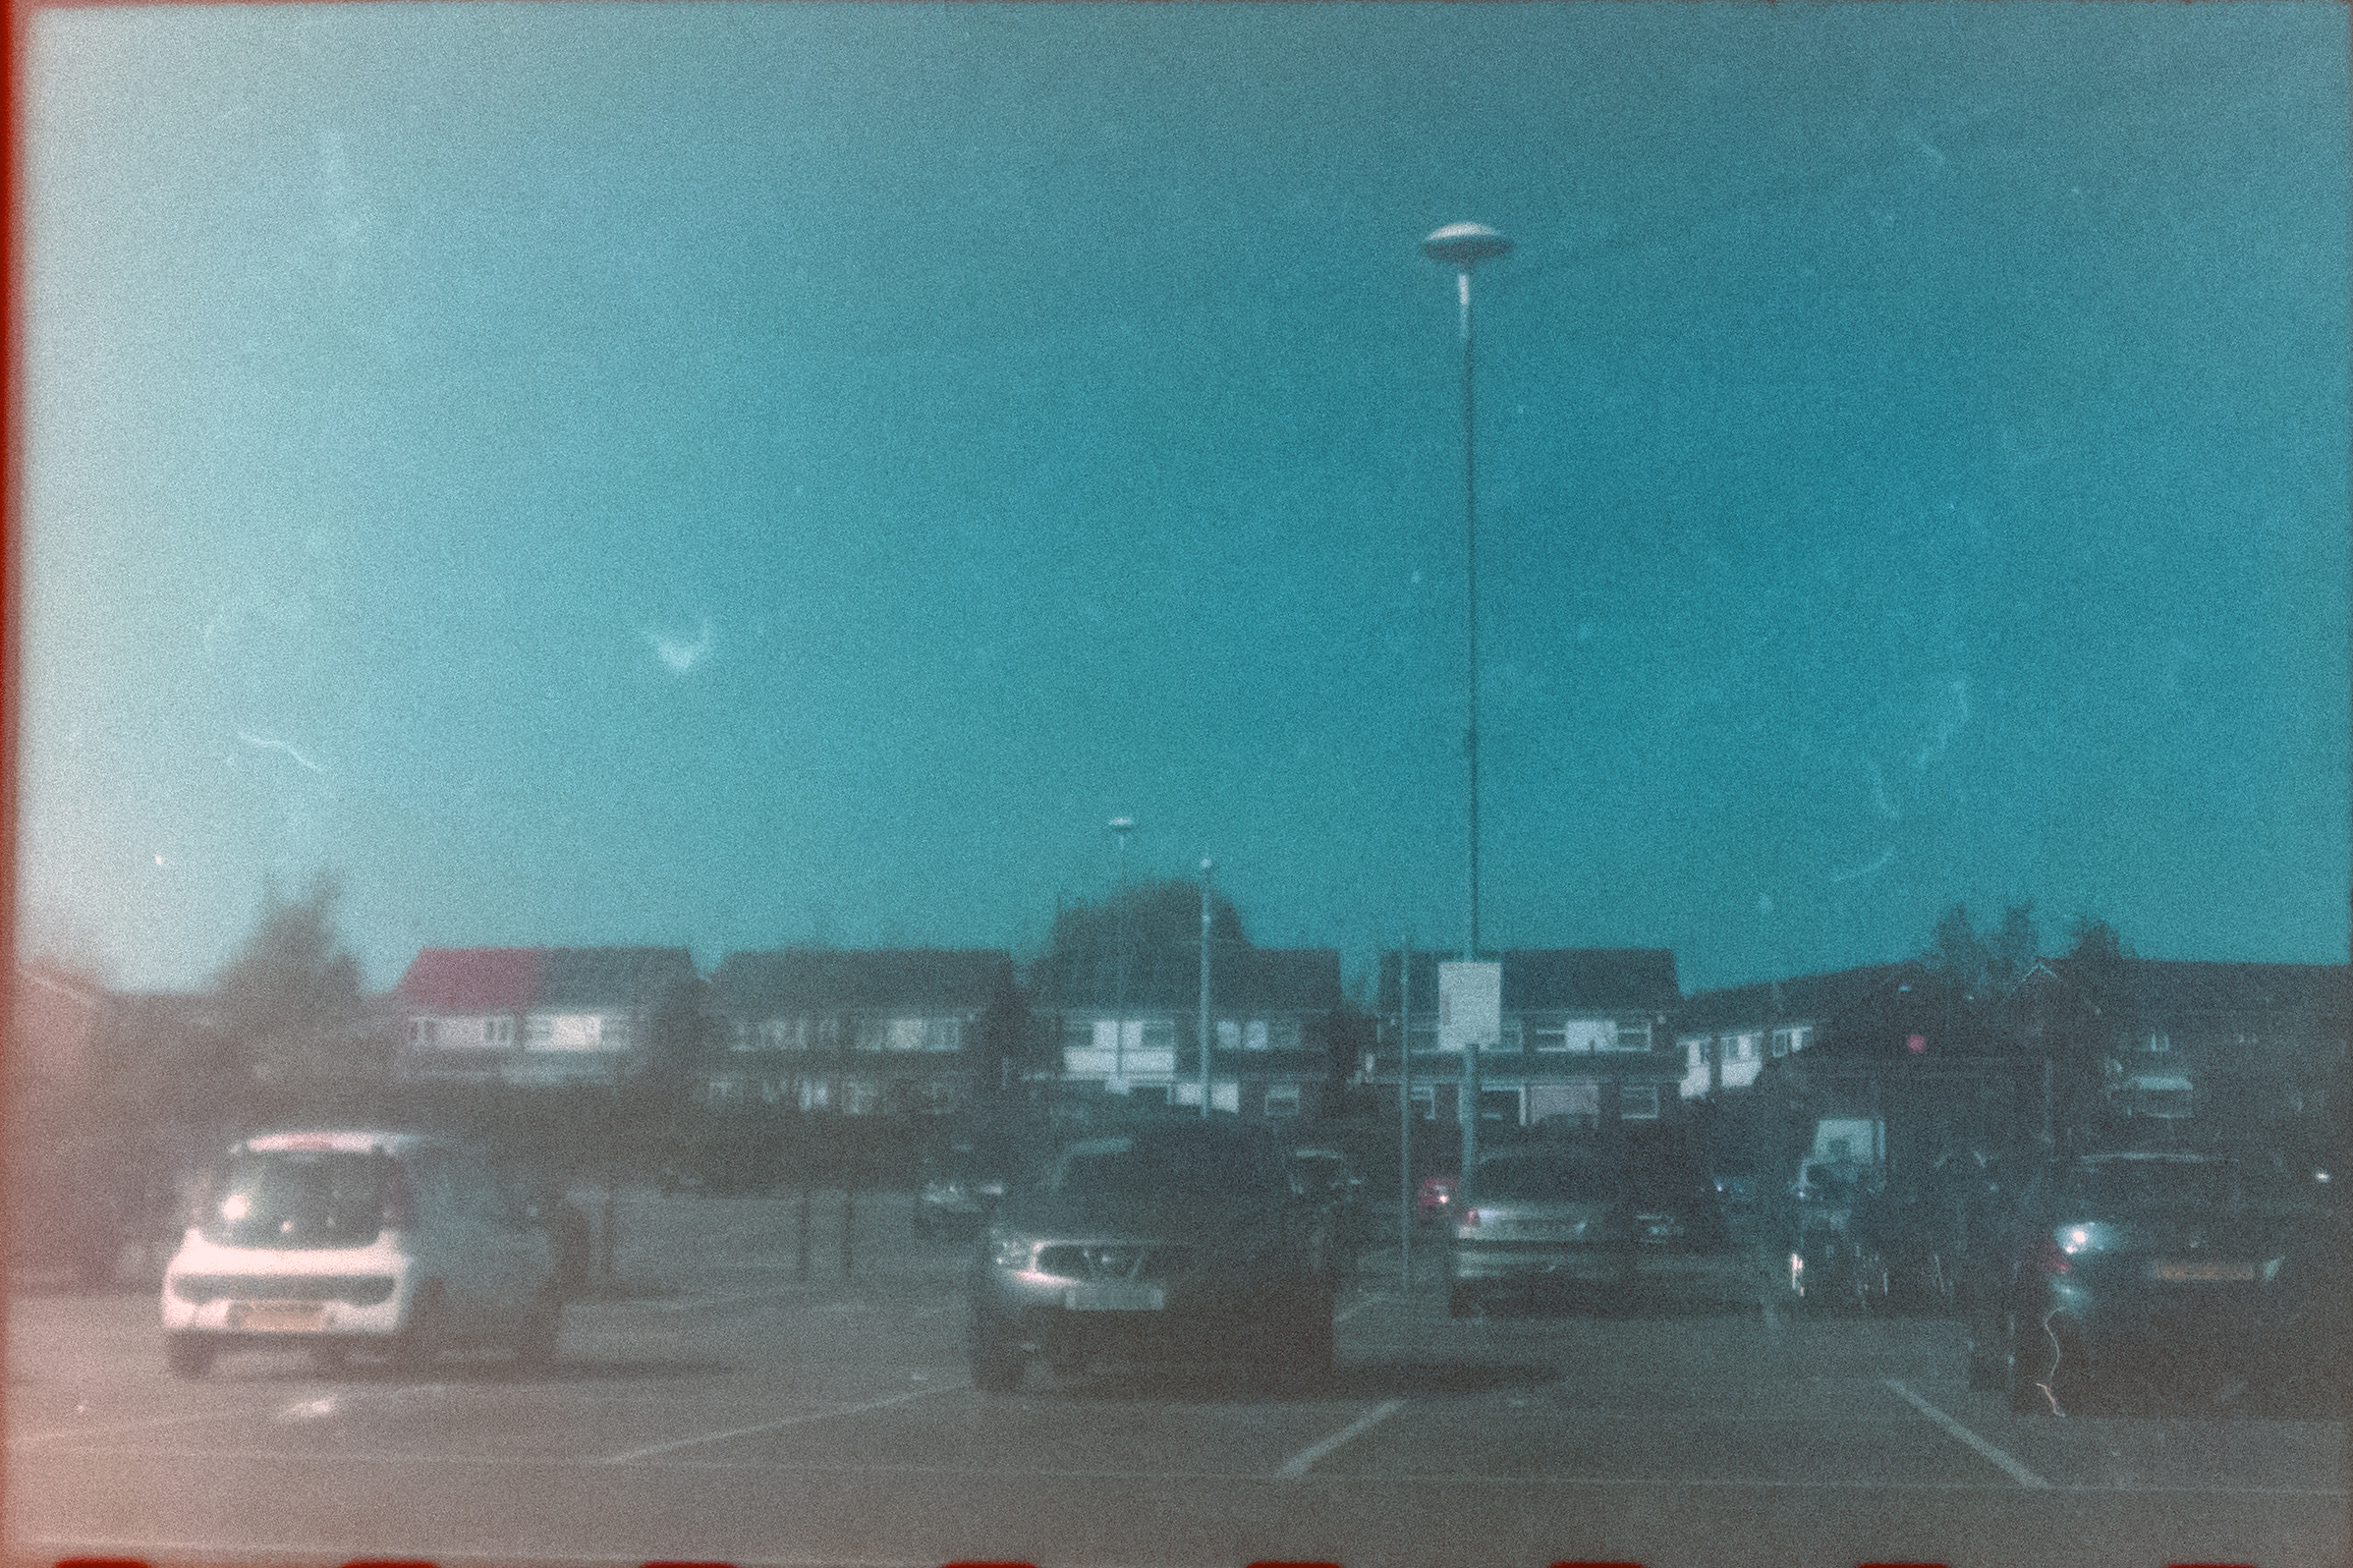


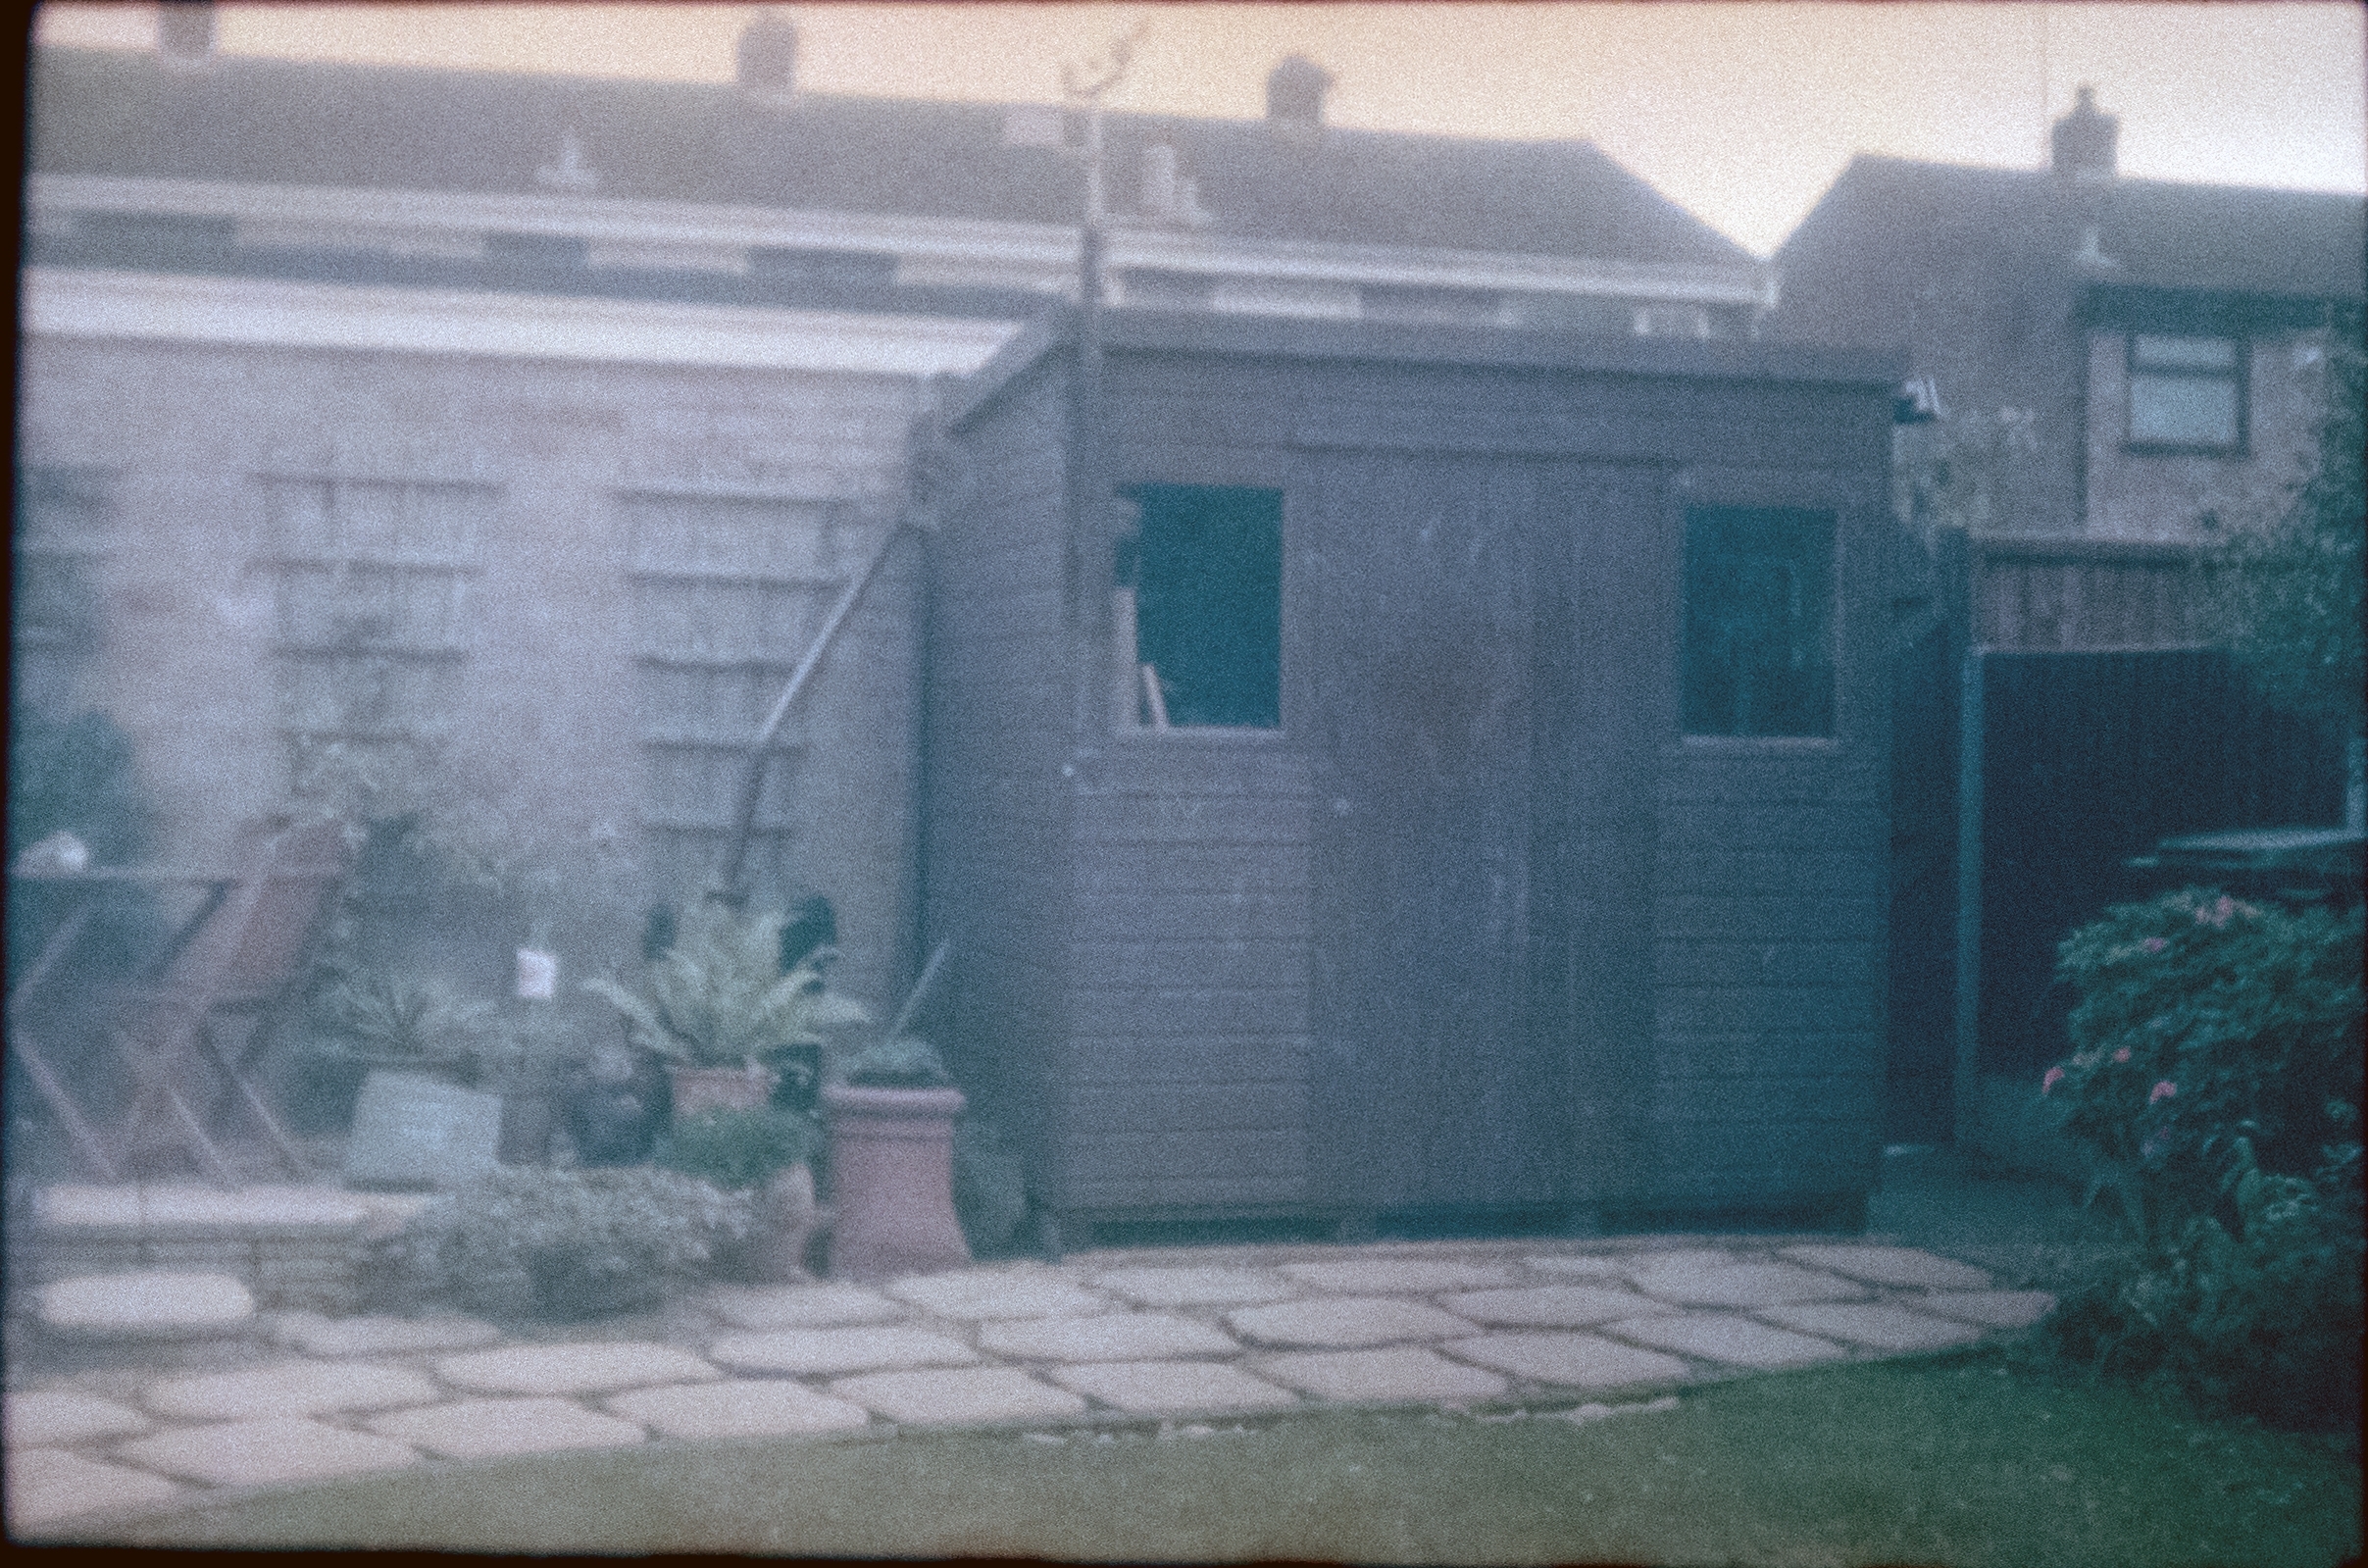
Not quite so great…
These pictures were a bit underexposed, so I did a bit more to bring out the pictures, but that has resulted in a loss of clarity and more obvious graining. I’ve read and am beginning to see that it’s better to err on the side of over-exposure when using film, as it has quite a wide range and is pretty forgiving compared to digital – in any of these pics I don’t think any actually have any areas totally washed out from overexposure.


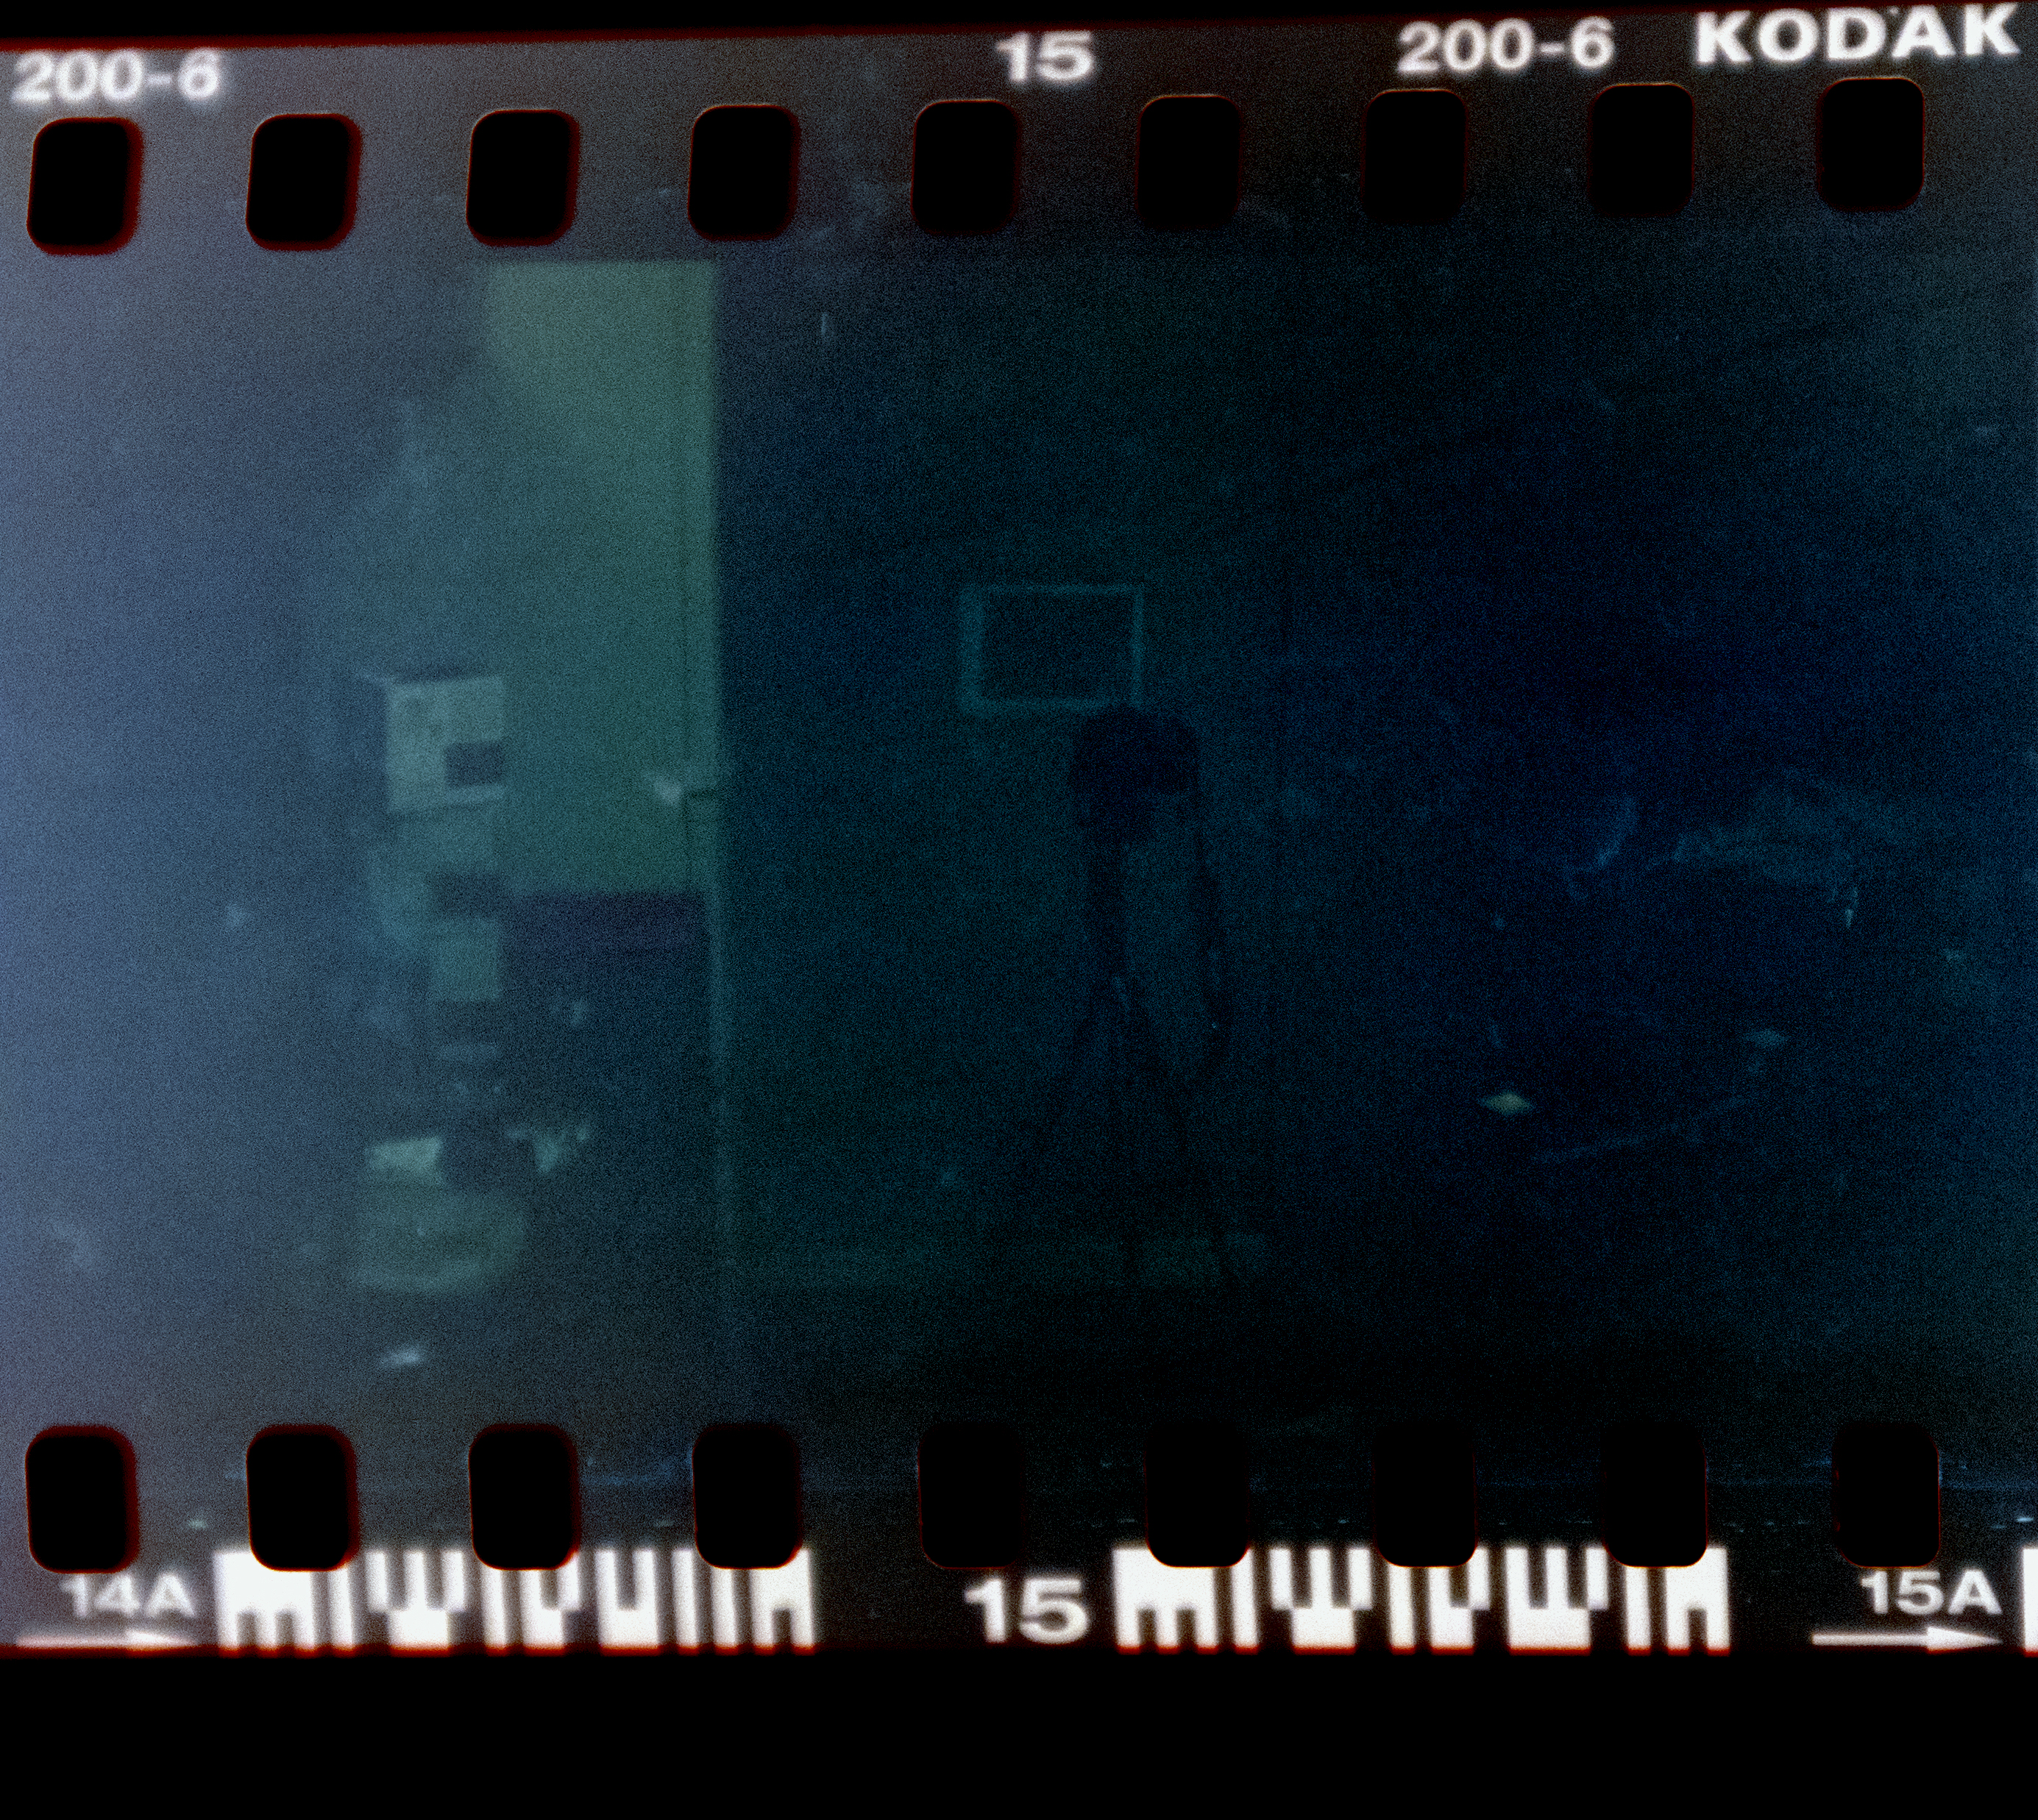
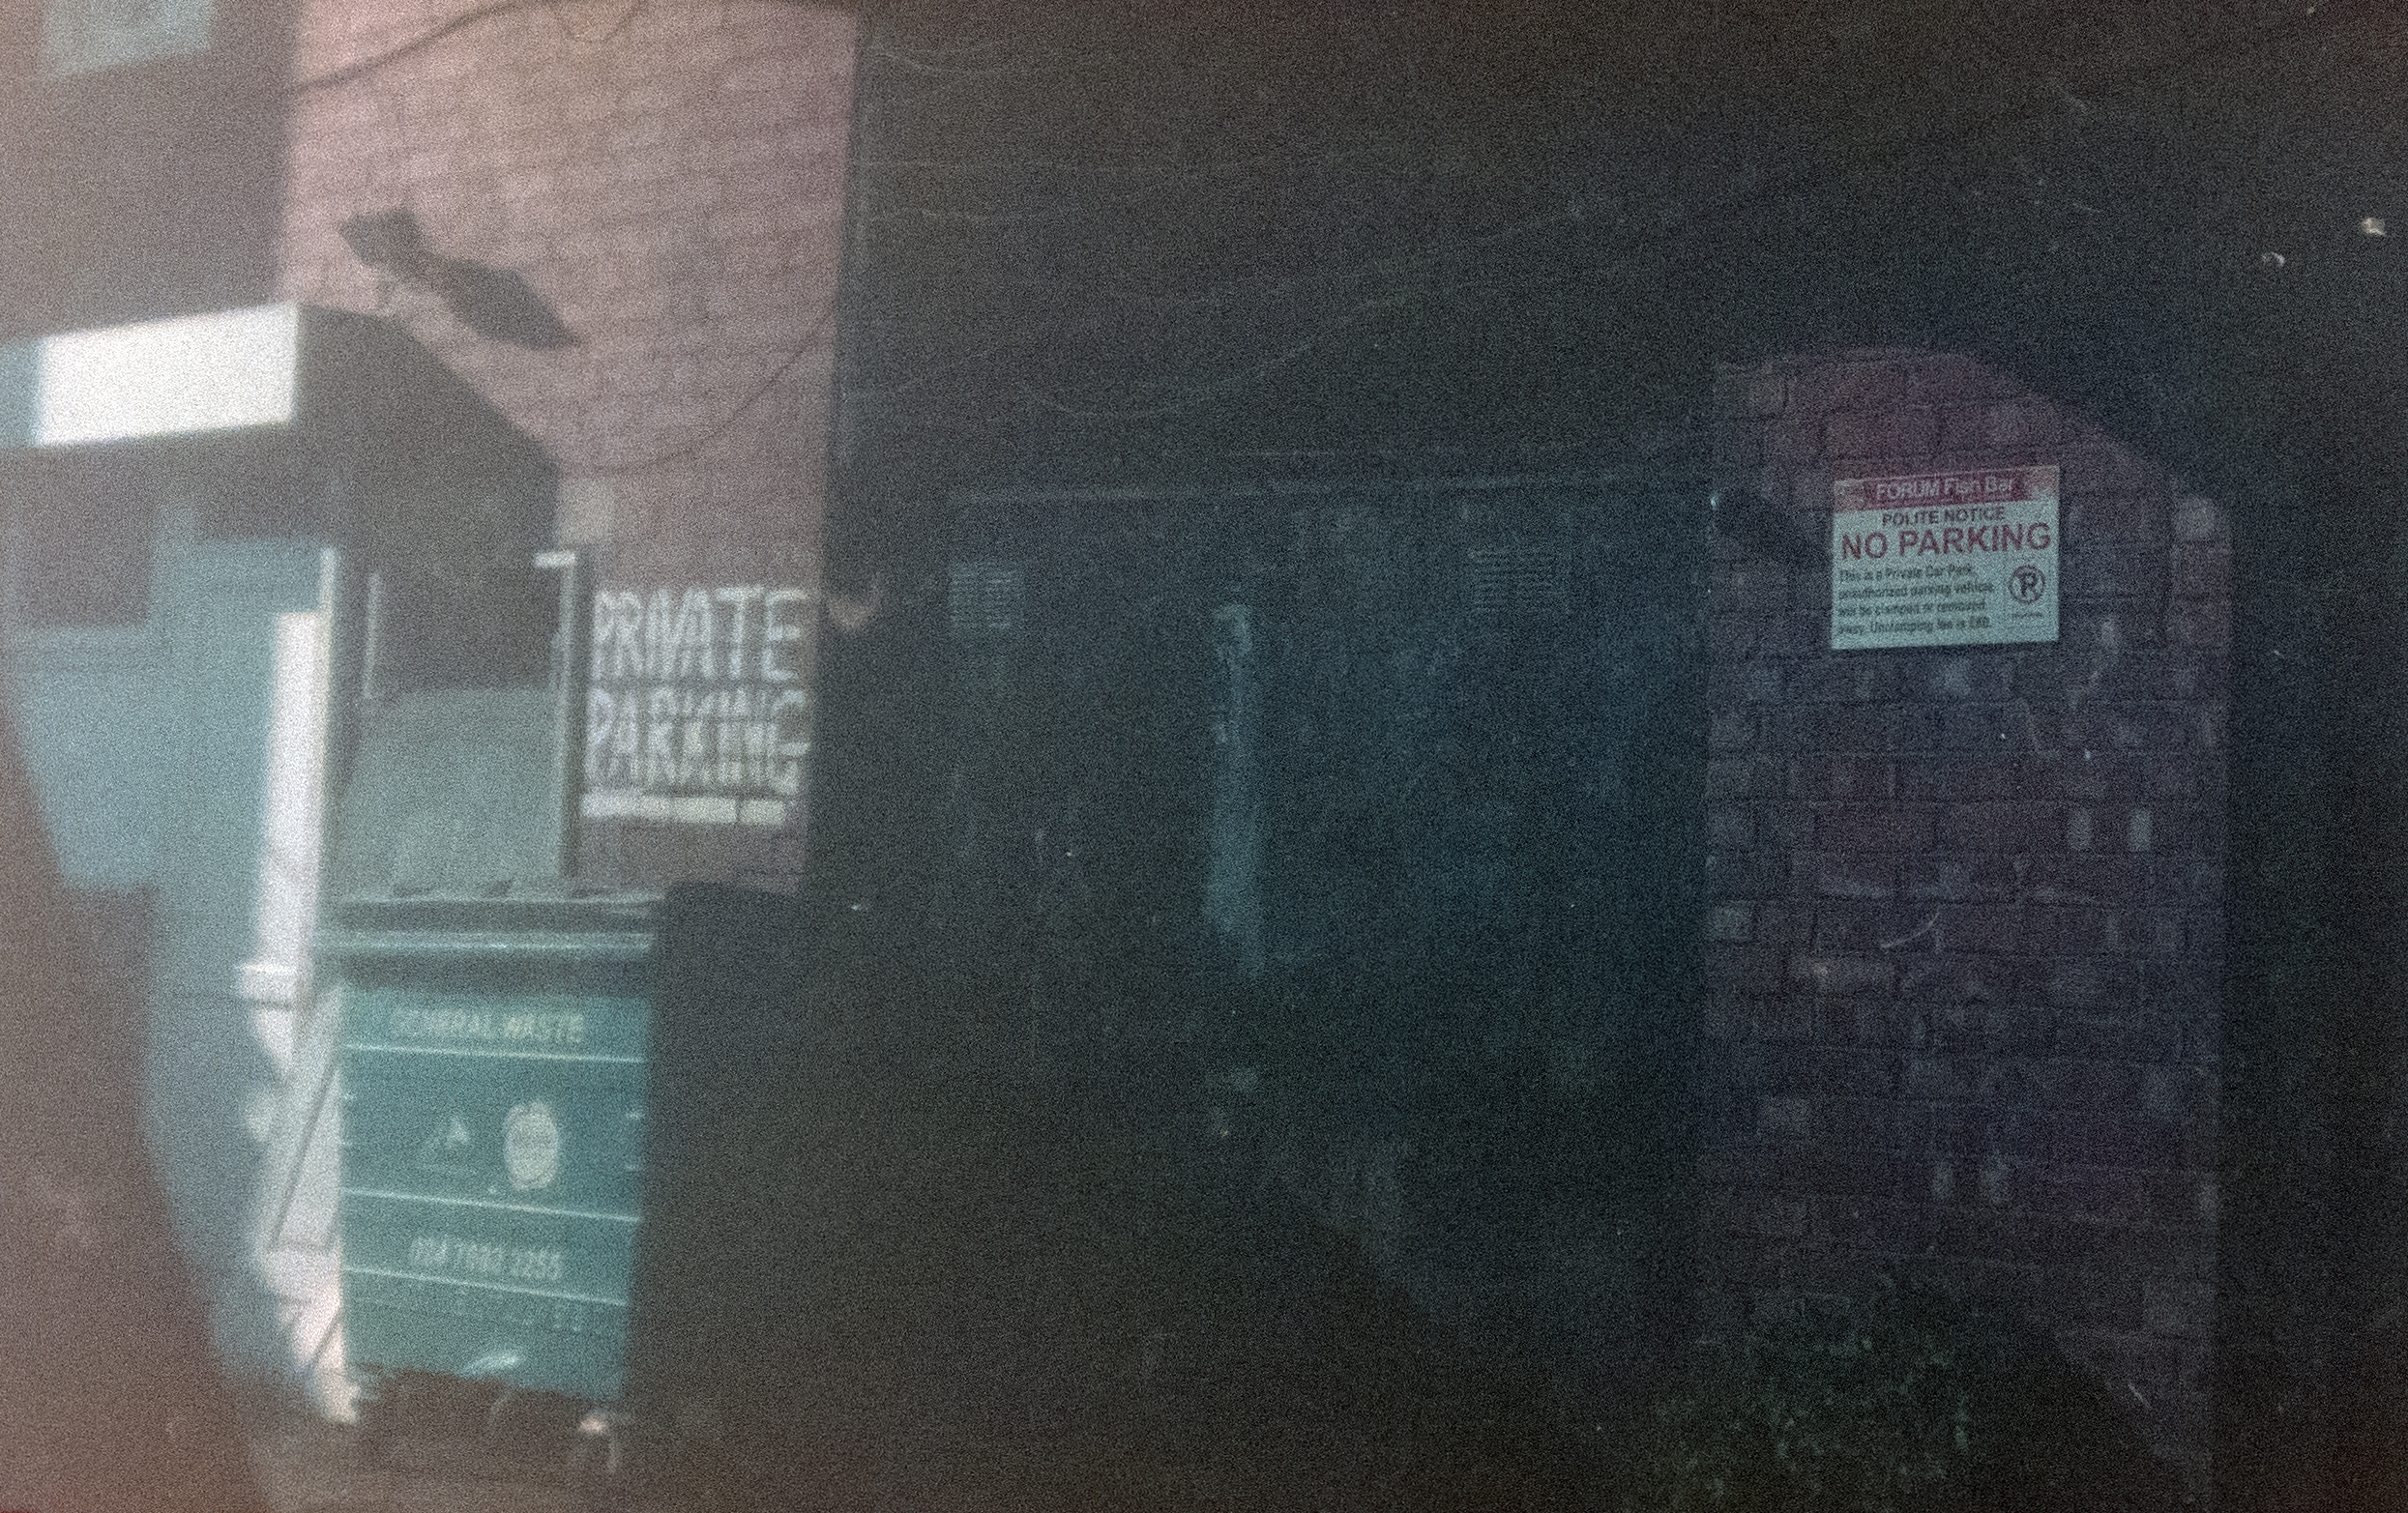
Just write these off
These were underexposed so much that there’s almost nothing to see in most of them – I went to town on the post-processing trying to pull anything out of them which is why some of them look a little odd. Perhaps some are a detailed study of the inside of my lens cap, but I think most are just pics I tried to take indoors and got the settings wrong. This is borne out by the fact that there are no successful indoor shots, yet I know I took some. Either flashes or much longer exposure times are going to be needed, digital cameras use sneaky tricks like upping the ISO to compensate for dark rooms which makes it easy to become complacent, operating near the bottom end of the lightmeter is going to need special considerations.
More experiments to come.